Intro
This past summer I got to spend 6 weeks at Orca Dreams, a whale watching camp on Compton Island off Vancouver Island. During my time there I baked bread for the guests and built a wood fired clay oven. This is a tradional cob oven made of clay and sand. It's made entirely of natural materials except for the hearth bricks for the cooking surface and the glass bottles I used as insulation. This whole project was made possible by a very helpful book called Build Your Own Earth Oven by Kiko Denzer.
The Materials
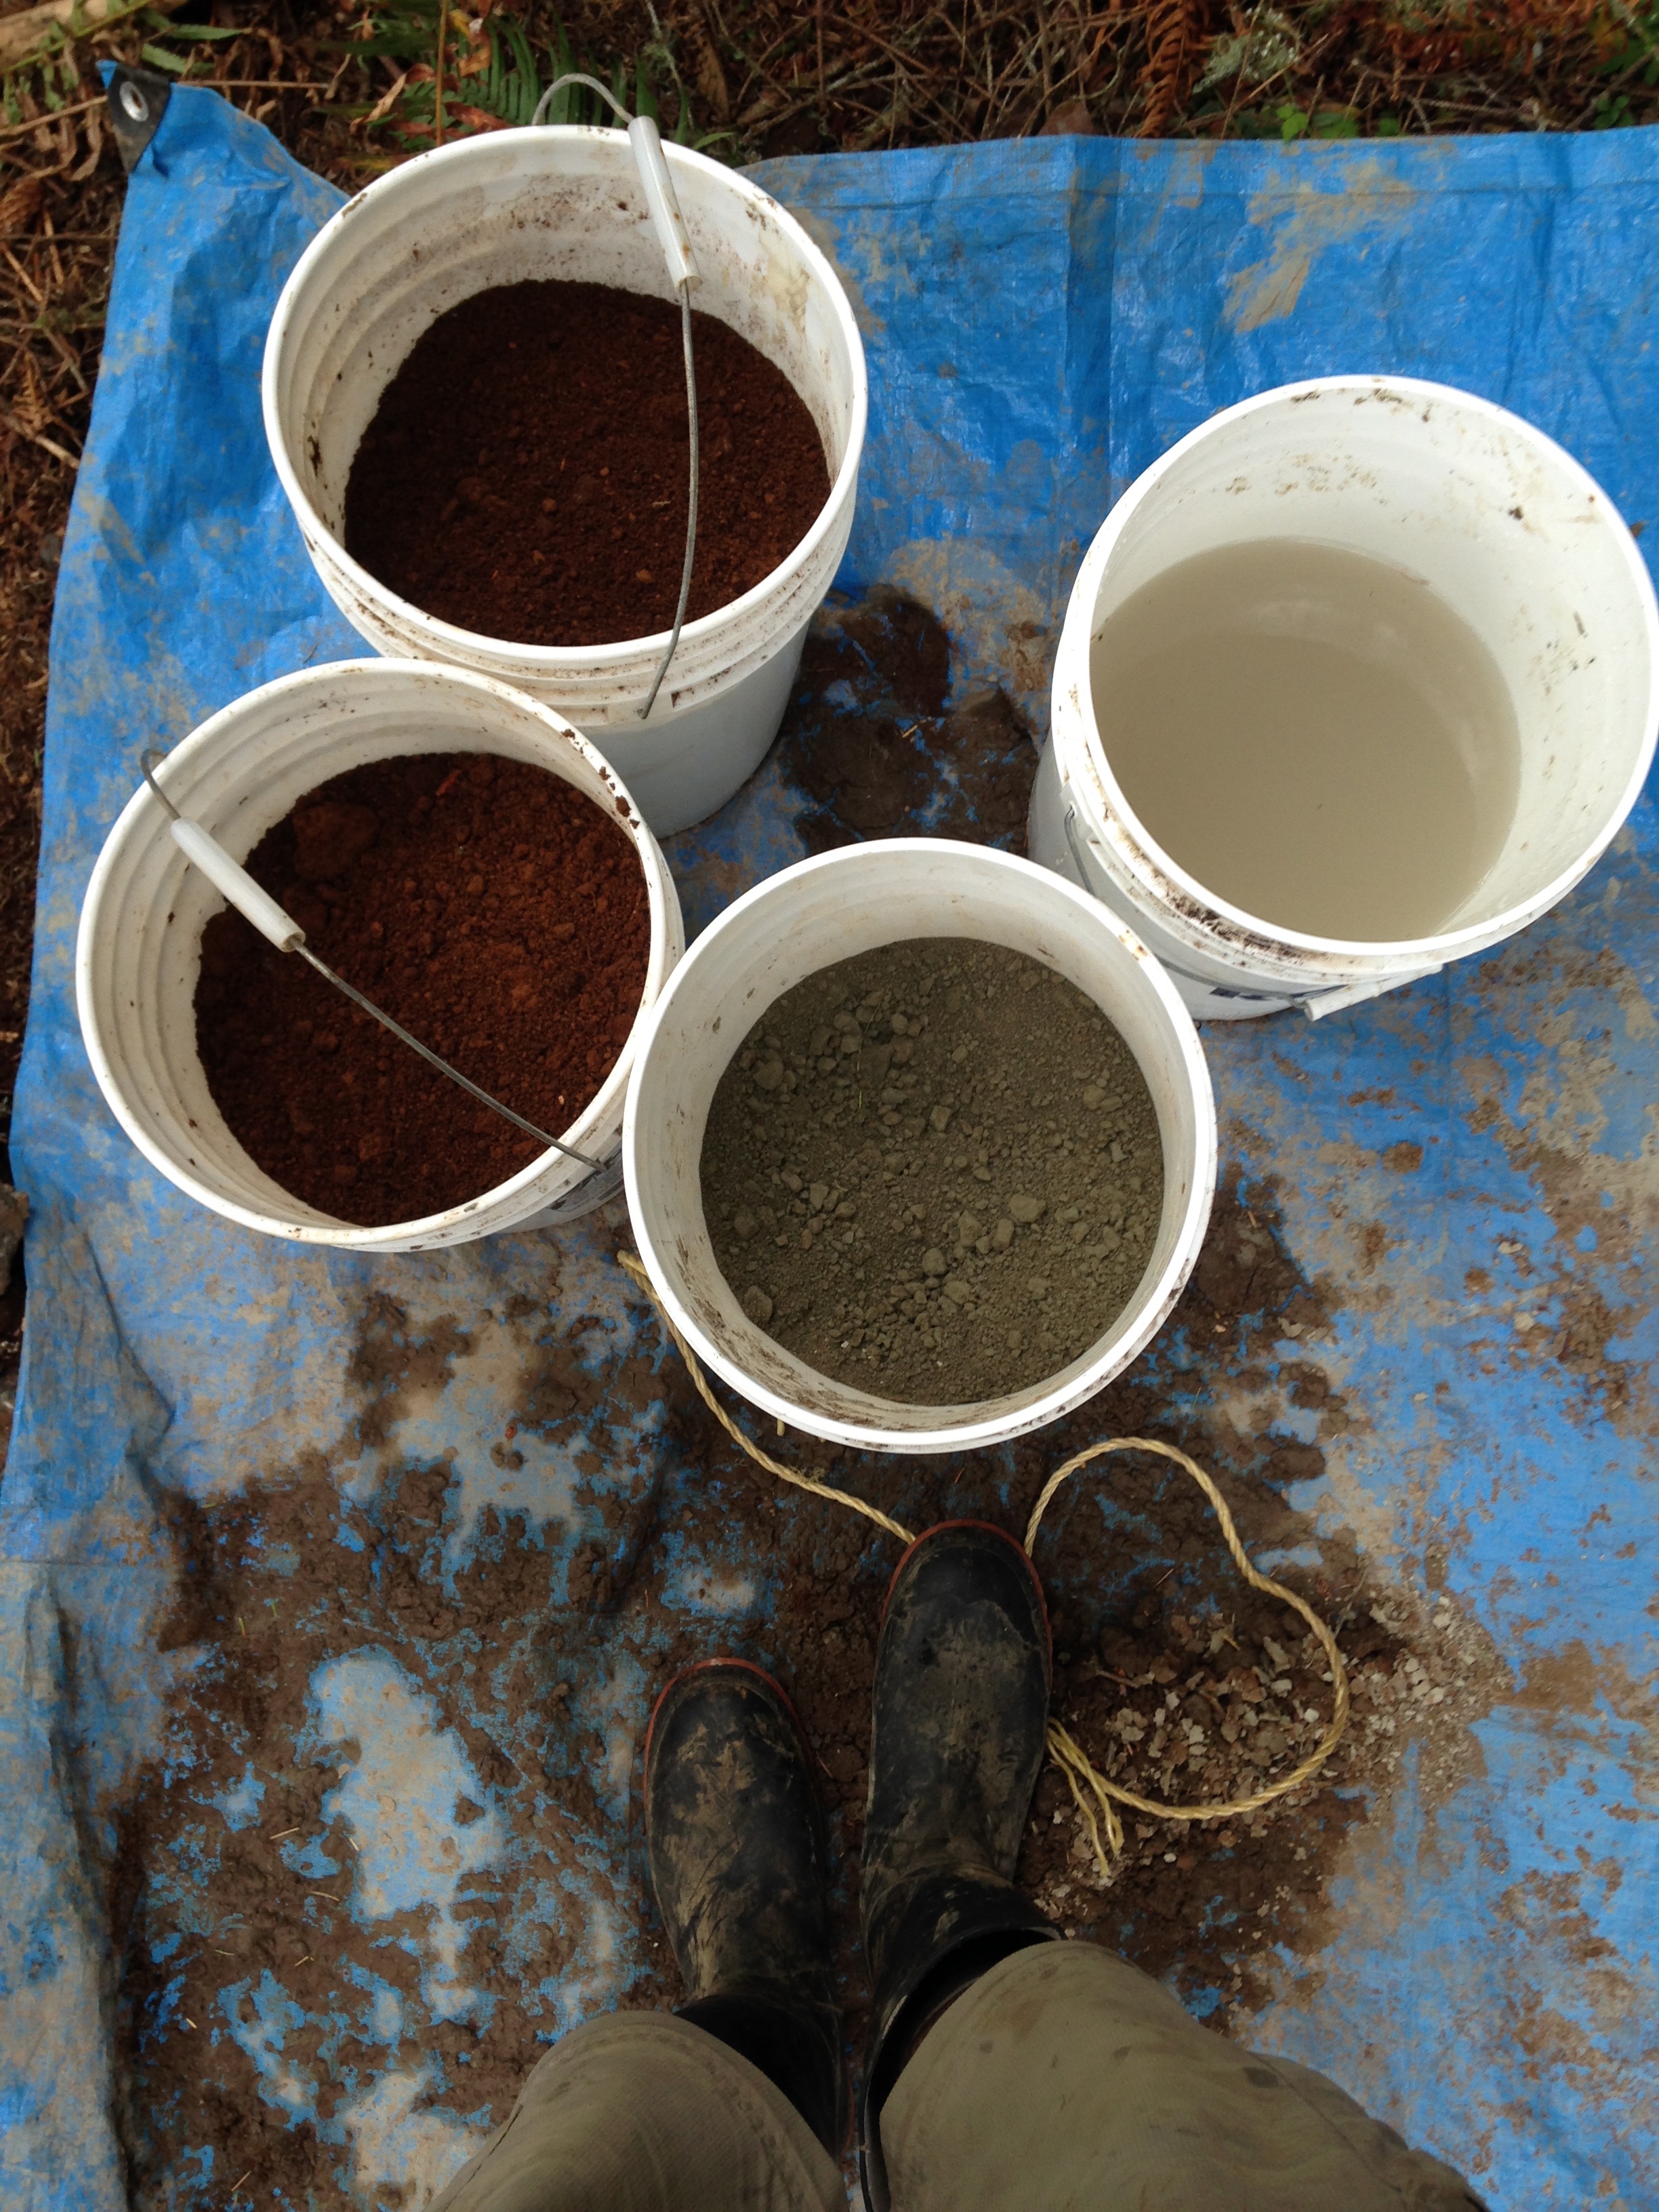
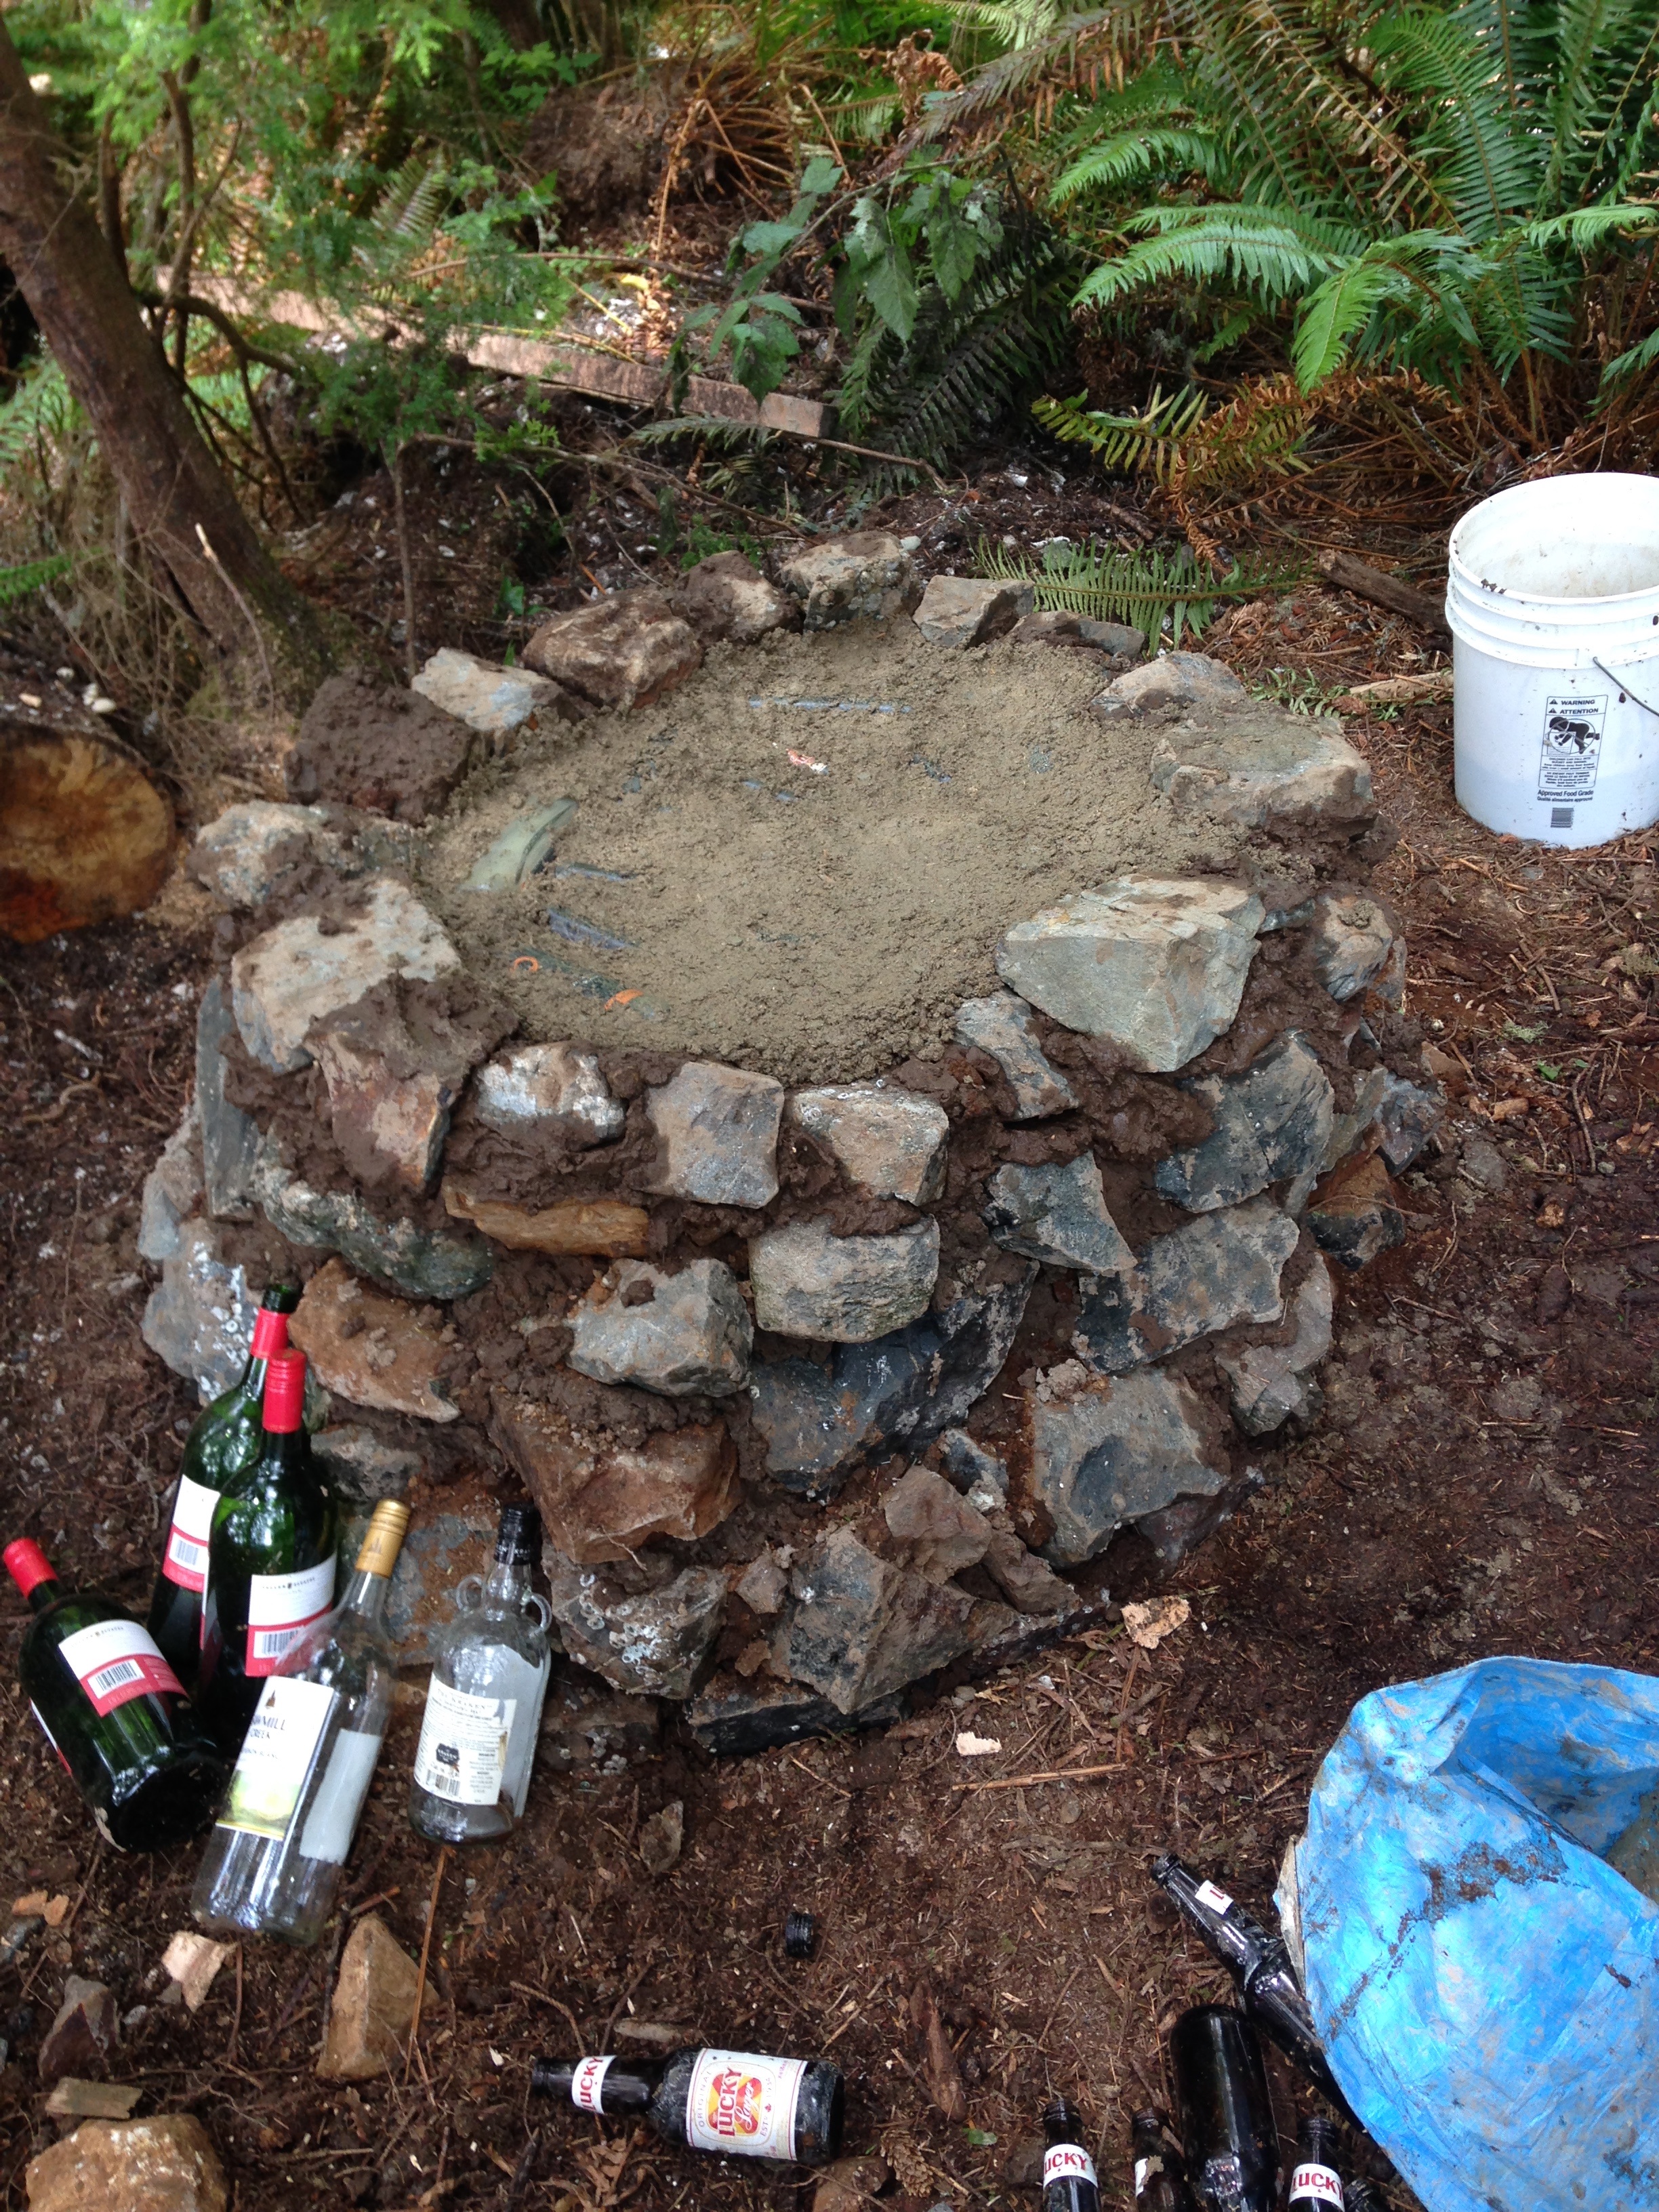
With lots of help from friends, I managed to find all of the materials for the oven pretty close to the island. The hardest thing to find was suitable clay and sand. We ended up finding a large deposit of very pure clay and perfect sand right next to each other on the highway in Port McNeill. Collecting clay and sand involved taking a boat to the main island into Telegraph Cove, driving to the deposits with buckets and shovels, and frantically filling up the buckets on the side of the highway while Kelly kept watch for bears. All of the rocks in the base I collected from the beach. The hearth bricks are just regular fire bricks from the hardware store. The bottles we ended up finding at the liquor store in town, Unfortunately they were filled with beer and wine so we had to spend some time thinking of good ways to empty them. The clay was so pure that it came in solid chunks, below you can see my technique for crushing the larger chunks of clay. Pour some large chunks into the middle bucket and smash them with a crowbar until they become small chunks. Move small chunks to next bucket.

The Base
The oven is built on a two part base. The bottom part of the base is just there to move the cooking surface higher off the ground so that the oven is more comfortable to use. On top of that platform is a layer of insulation and the hearth of the oven.
The Platform
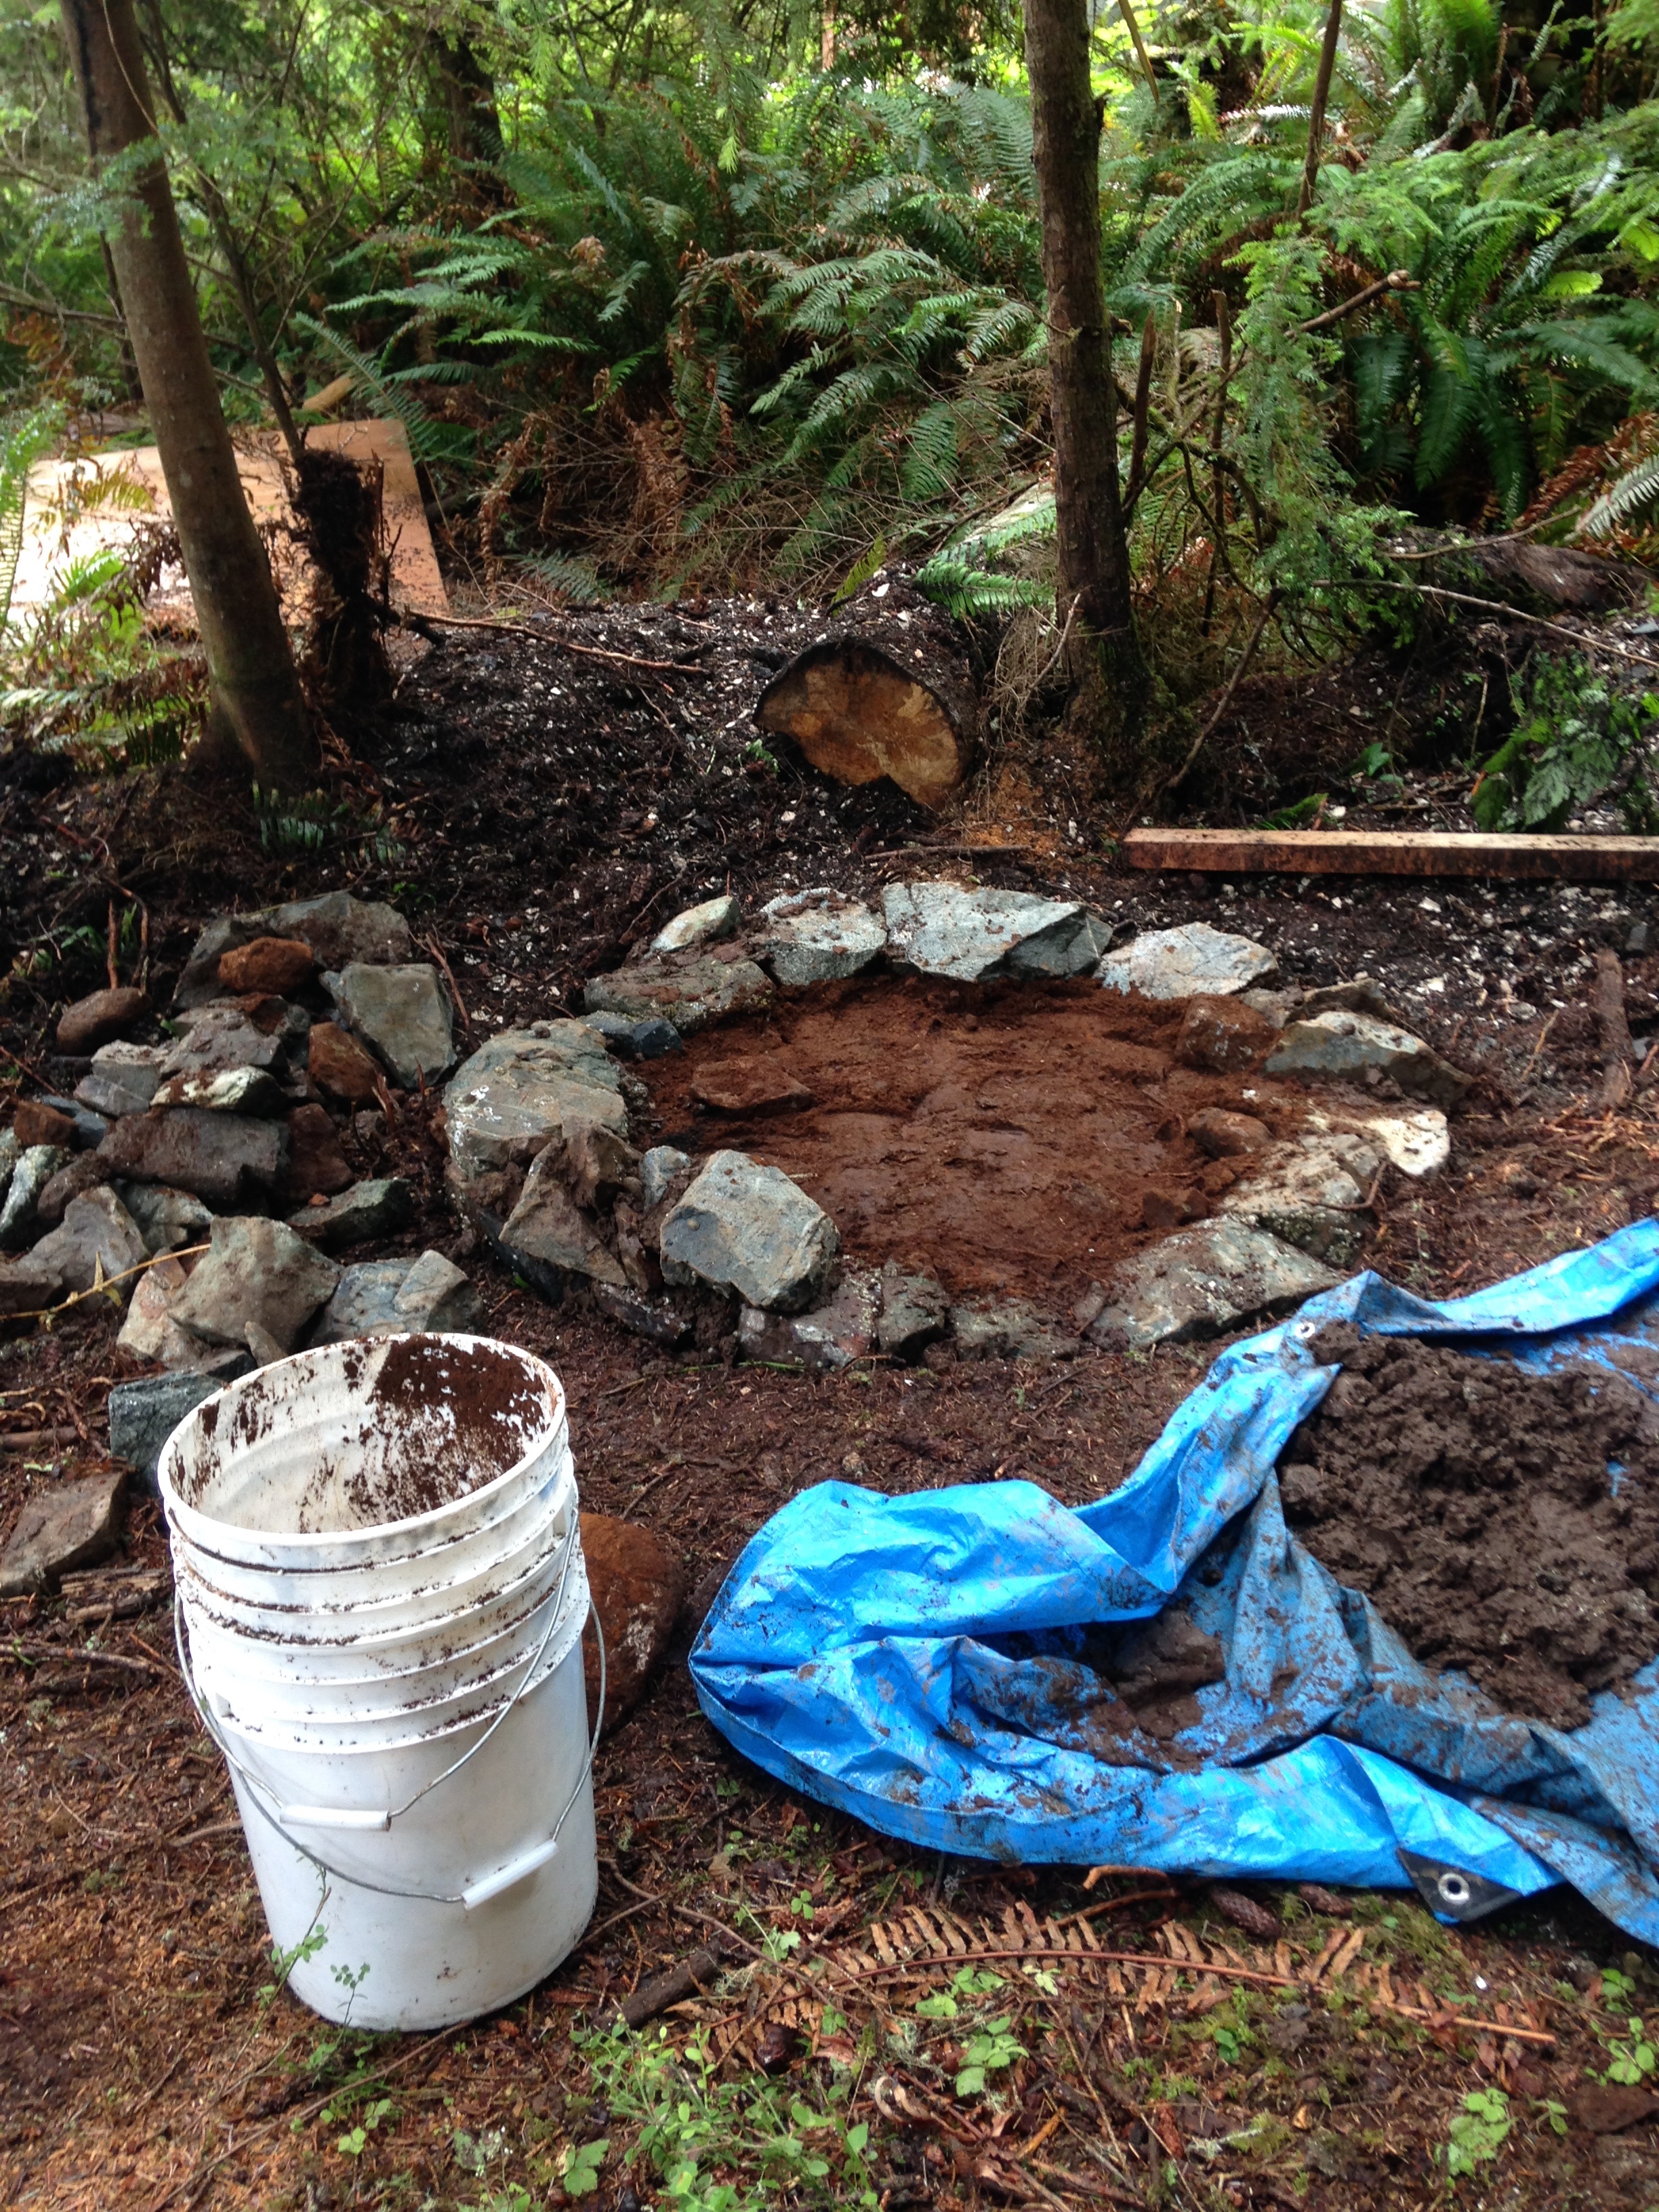
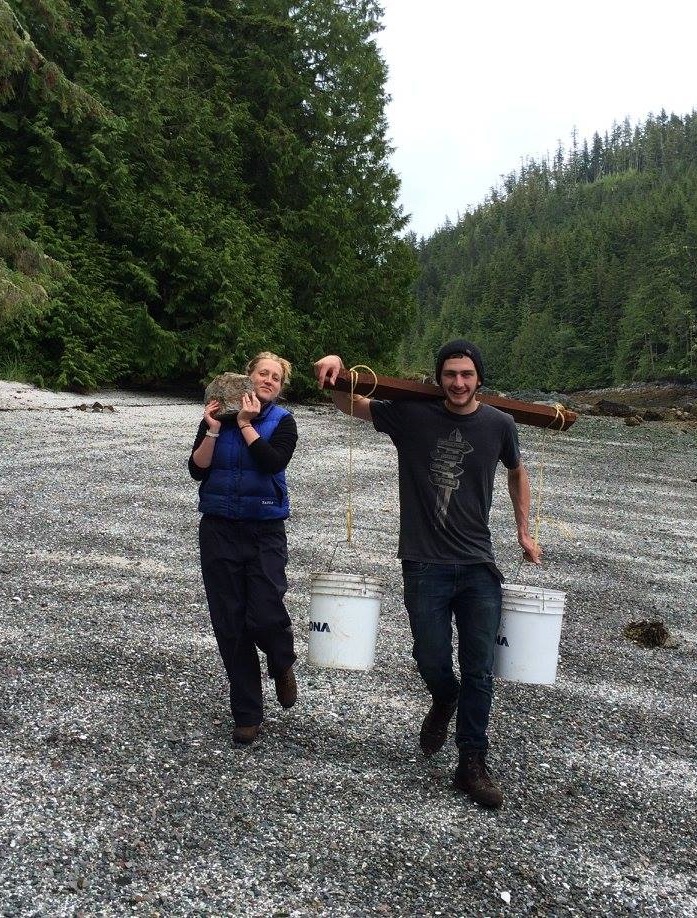
I built the platform by stacking rings of the largest rocks I could carry from the beach and filling the center with tamped dirt. The rings go about 12 inches into the ground and end 3.5' above the ground. This was the longest portion of the building process. It involved countless trips to the beach for big rocks. I even made a shoulder harness so I could fill two buckets with rocks (pictured below with faithful rock-carrier Gabby). I kept asking myself if there was an easier way and I still can't think of one. The base ended up really solid and I wouldn't want anything weaker. Really I just needed a wheelbarrow.
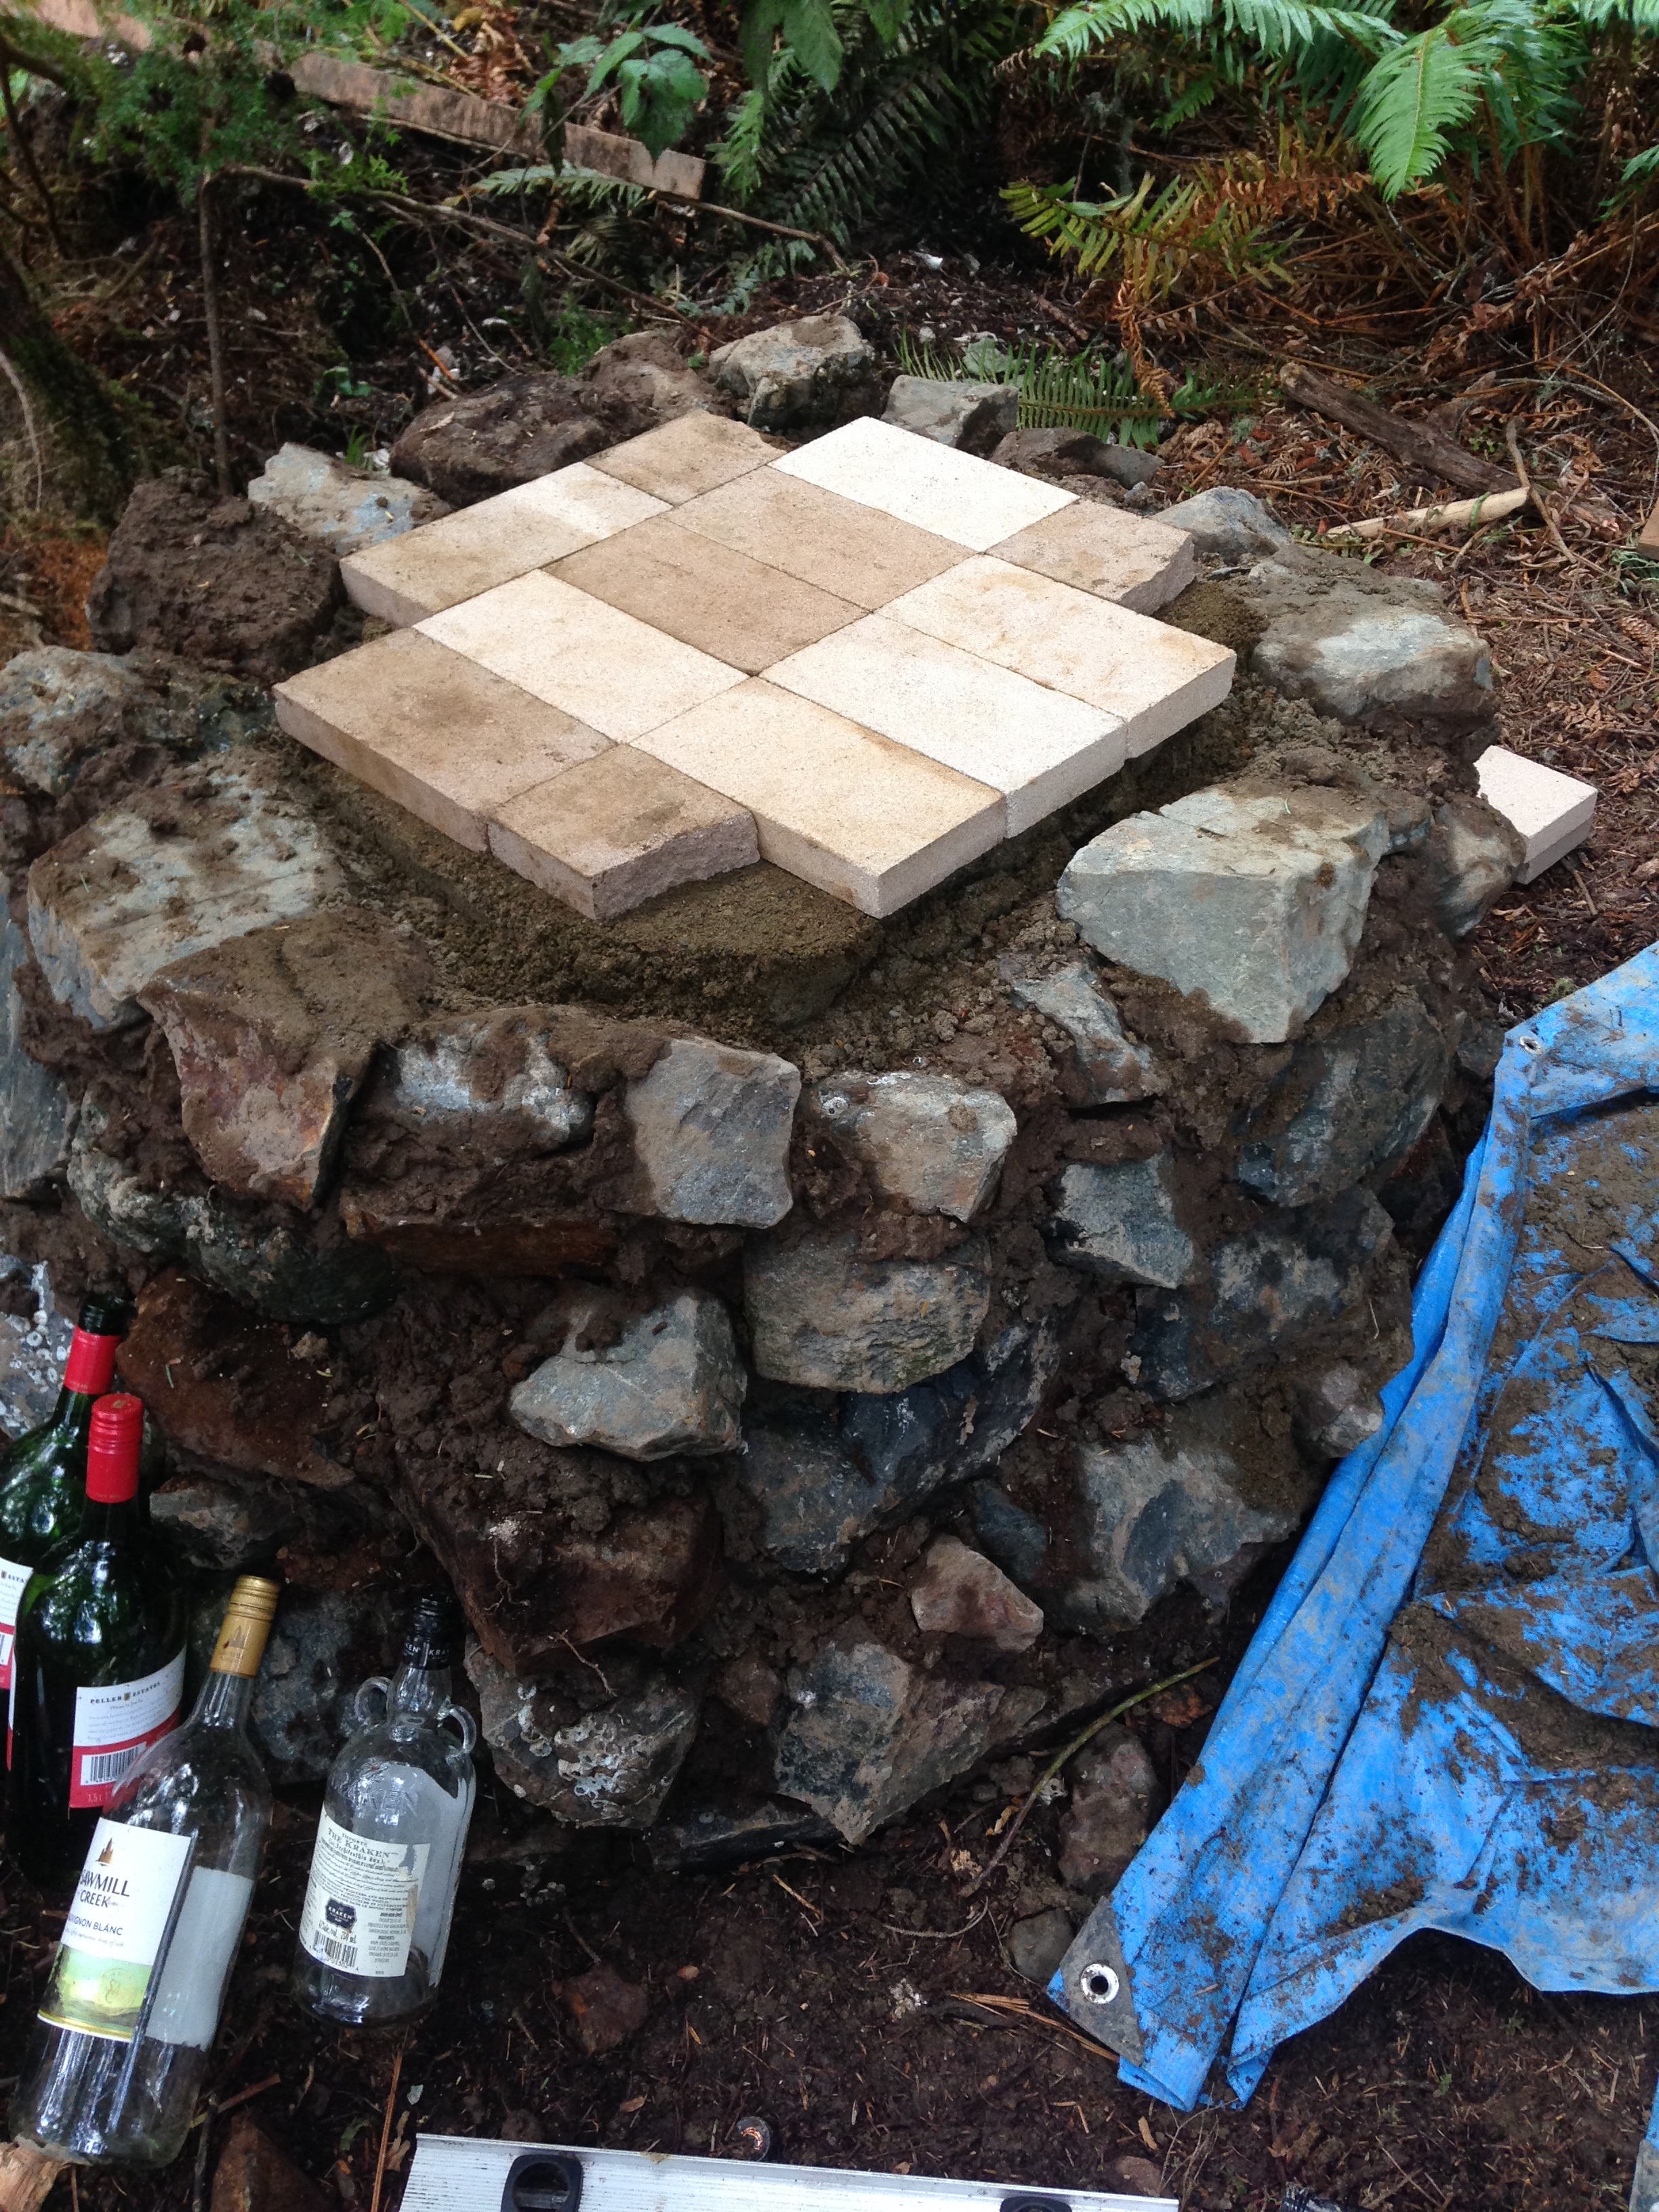
The Hearth
The hearth of the oven is the surface that the bread cooks on. The first layer is insulation to protect the oven heat from the earth base. Insulation is made of a mix of clay slip and chainsaw chips surrounding glass bottles. On top of that is a heat sink of the clay-sand oven mix, and finally the fire brick hearth.
First Layer
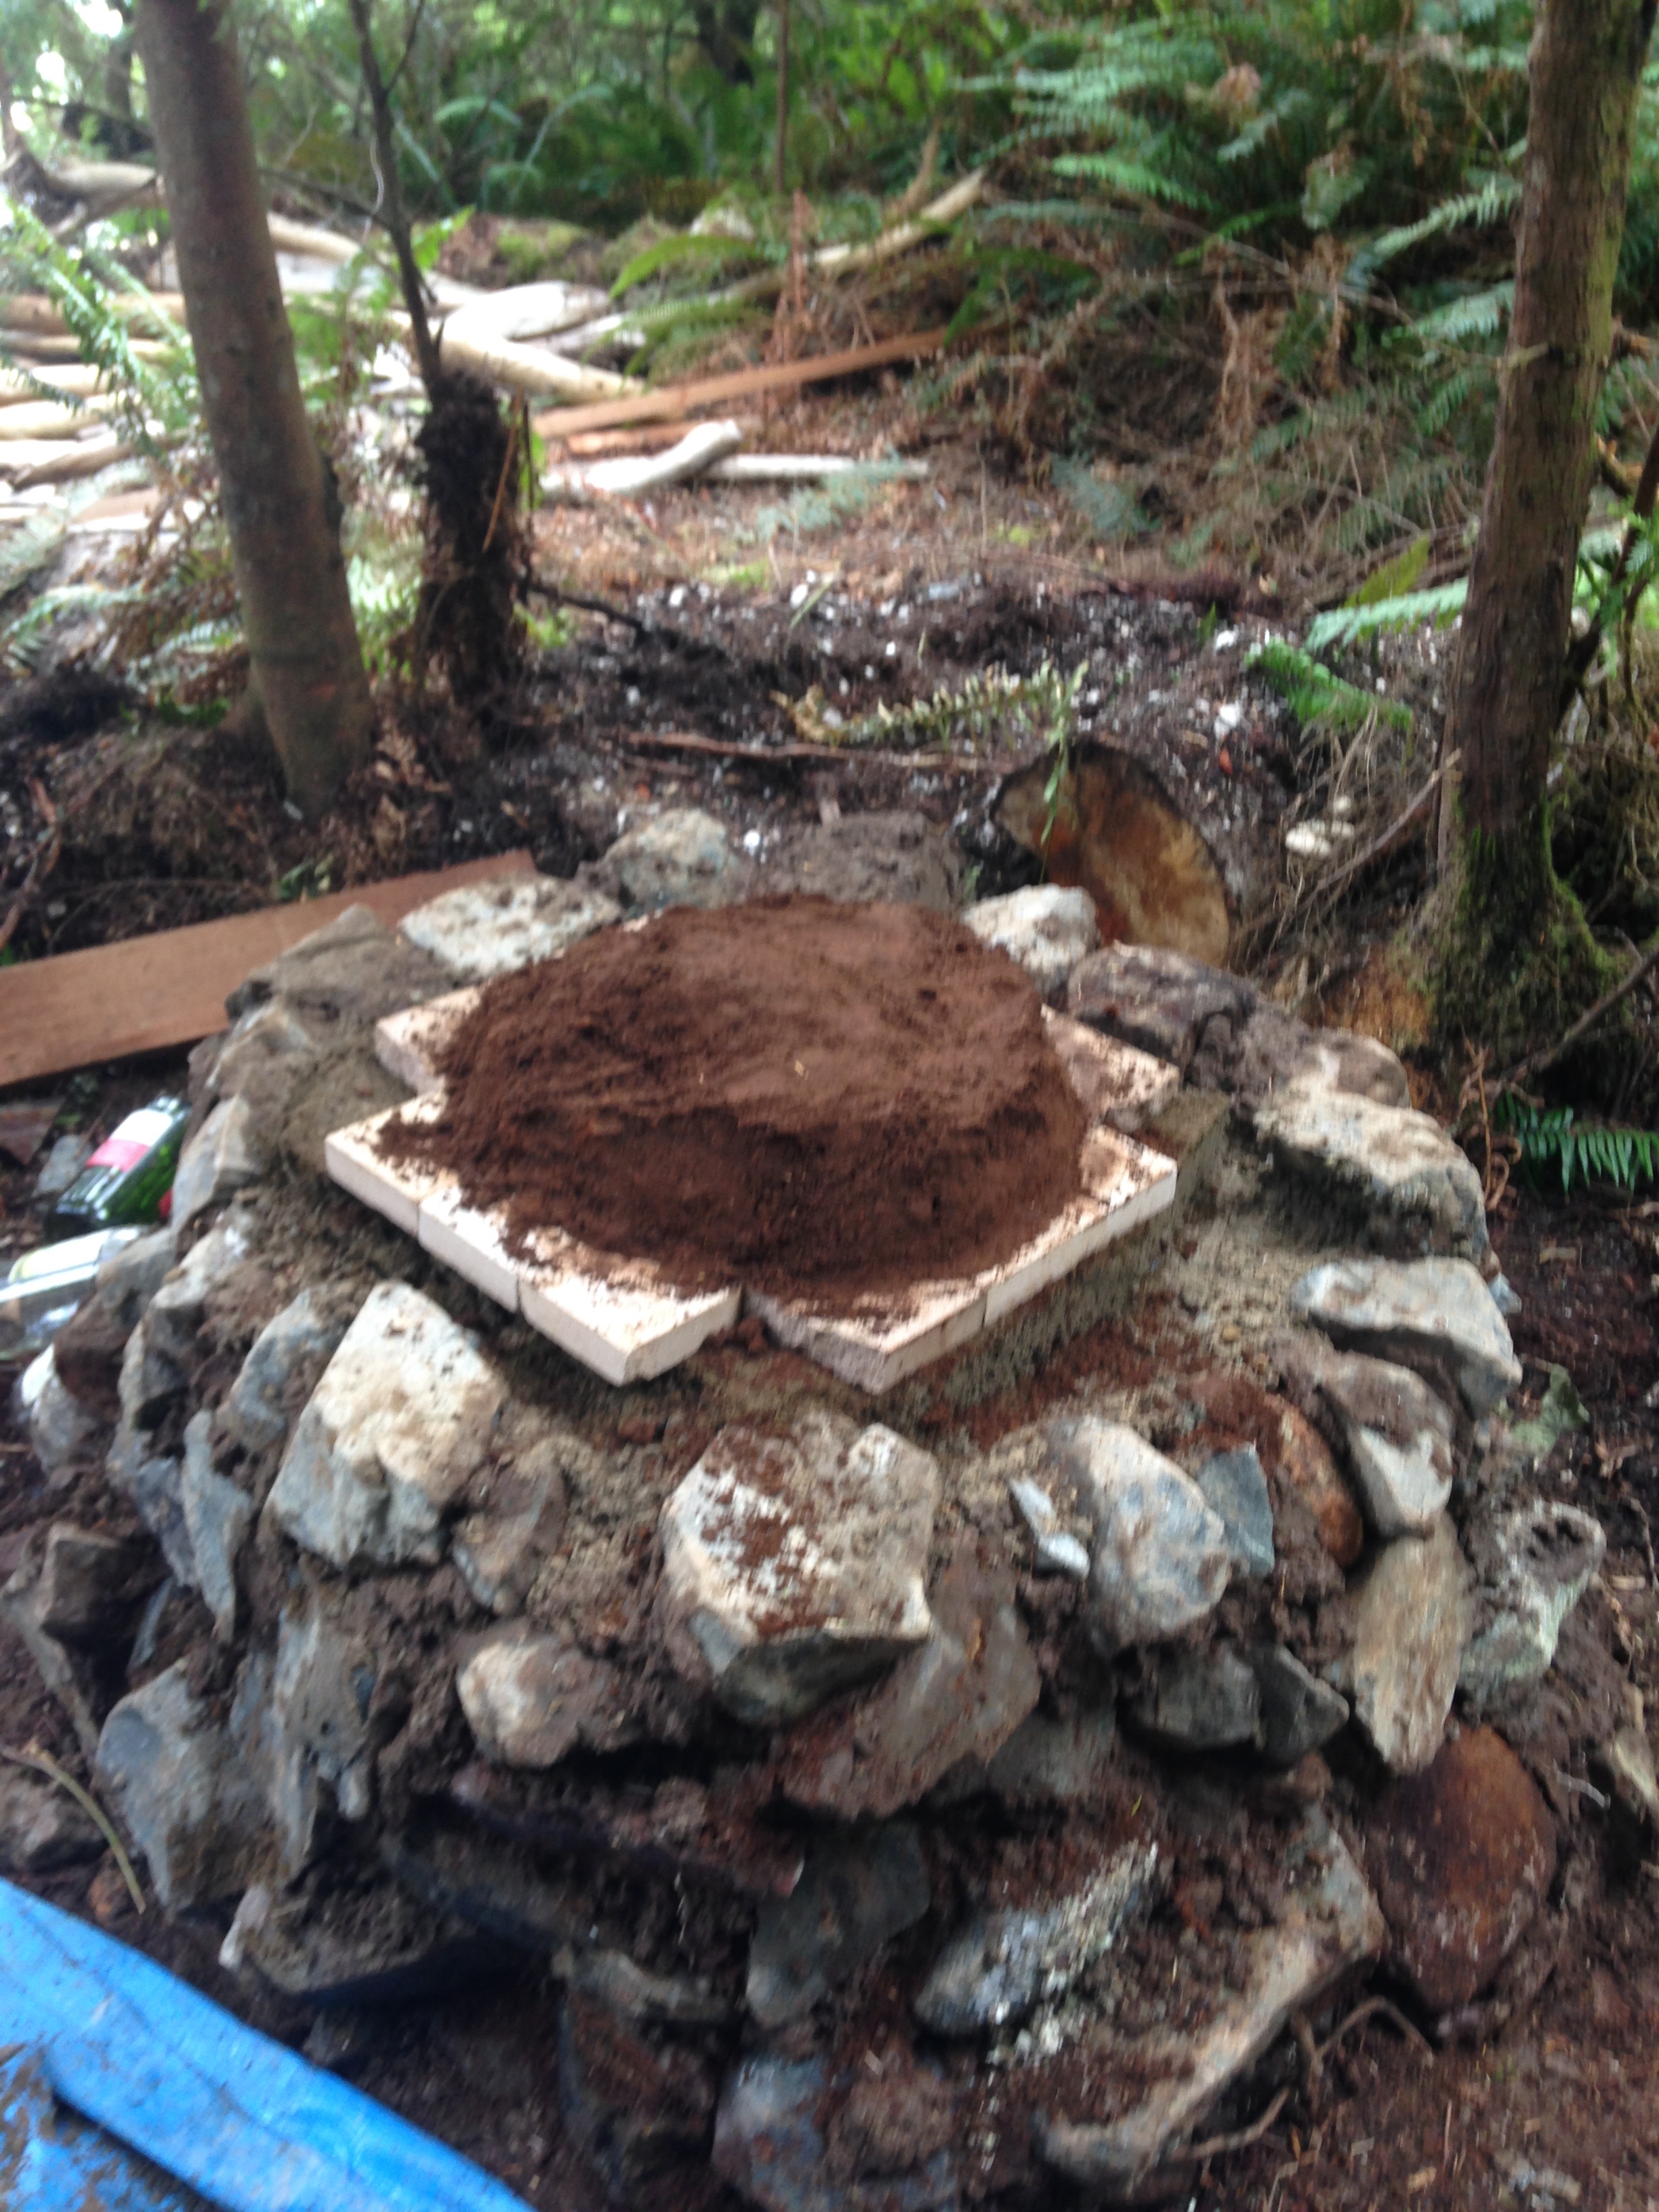
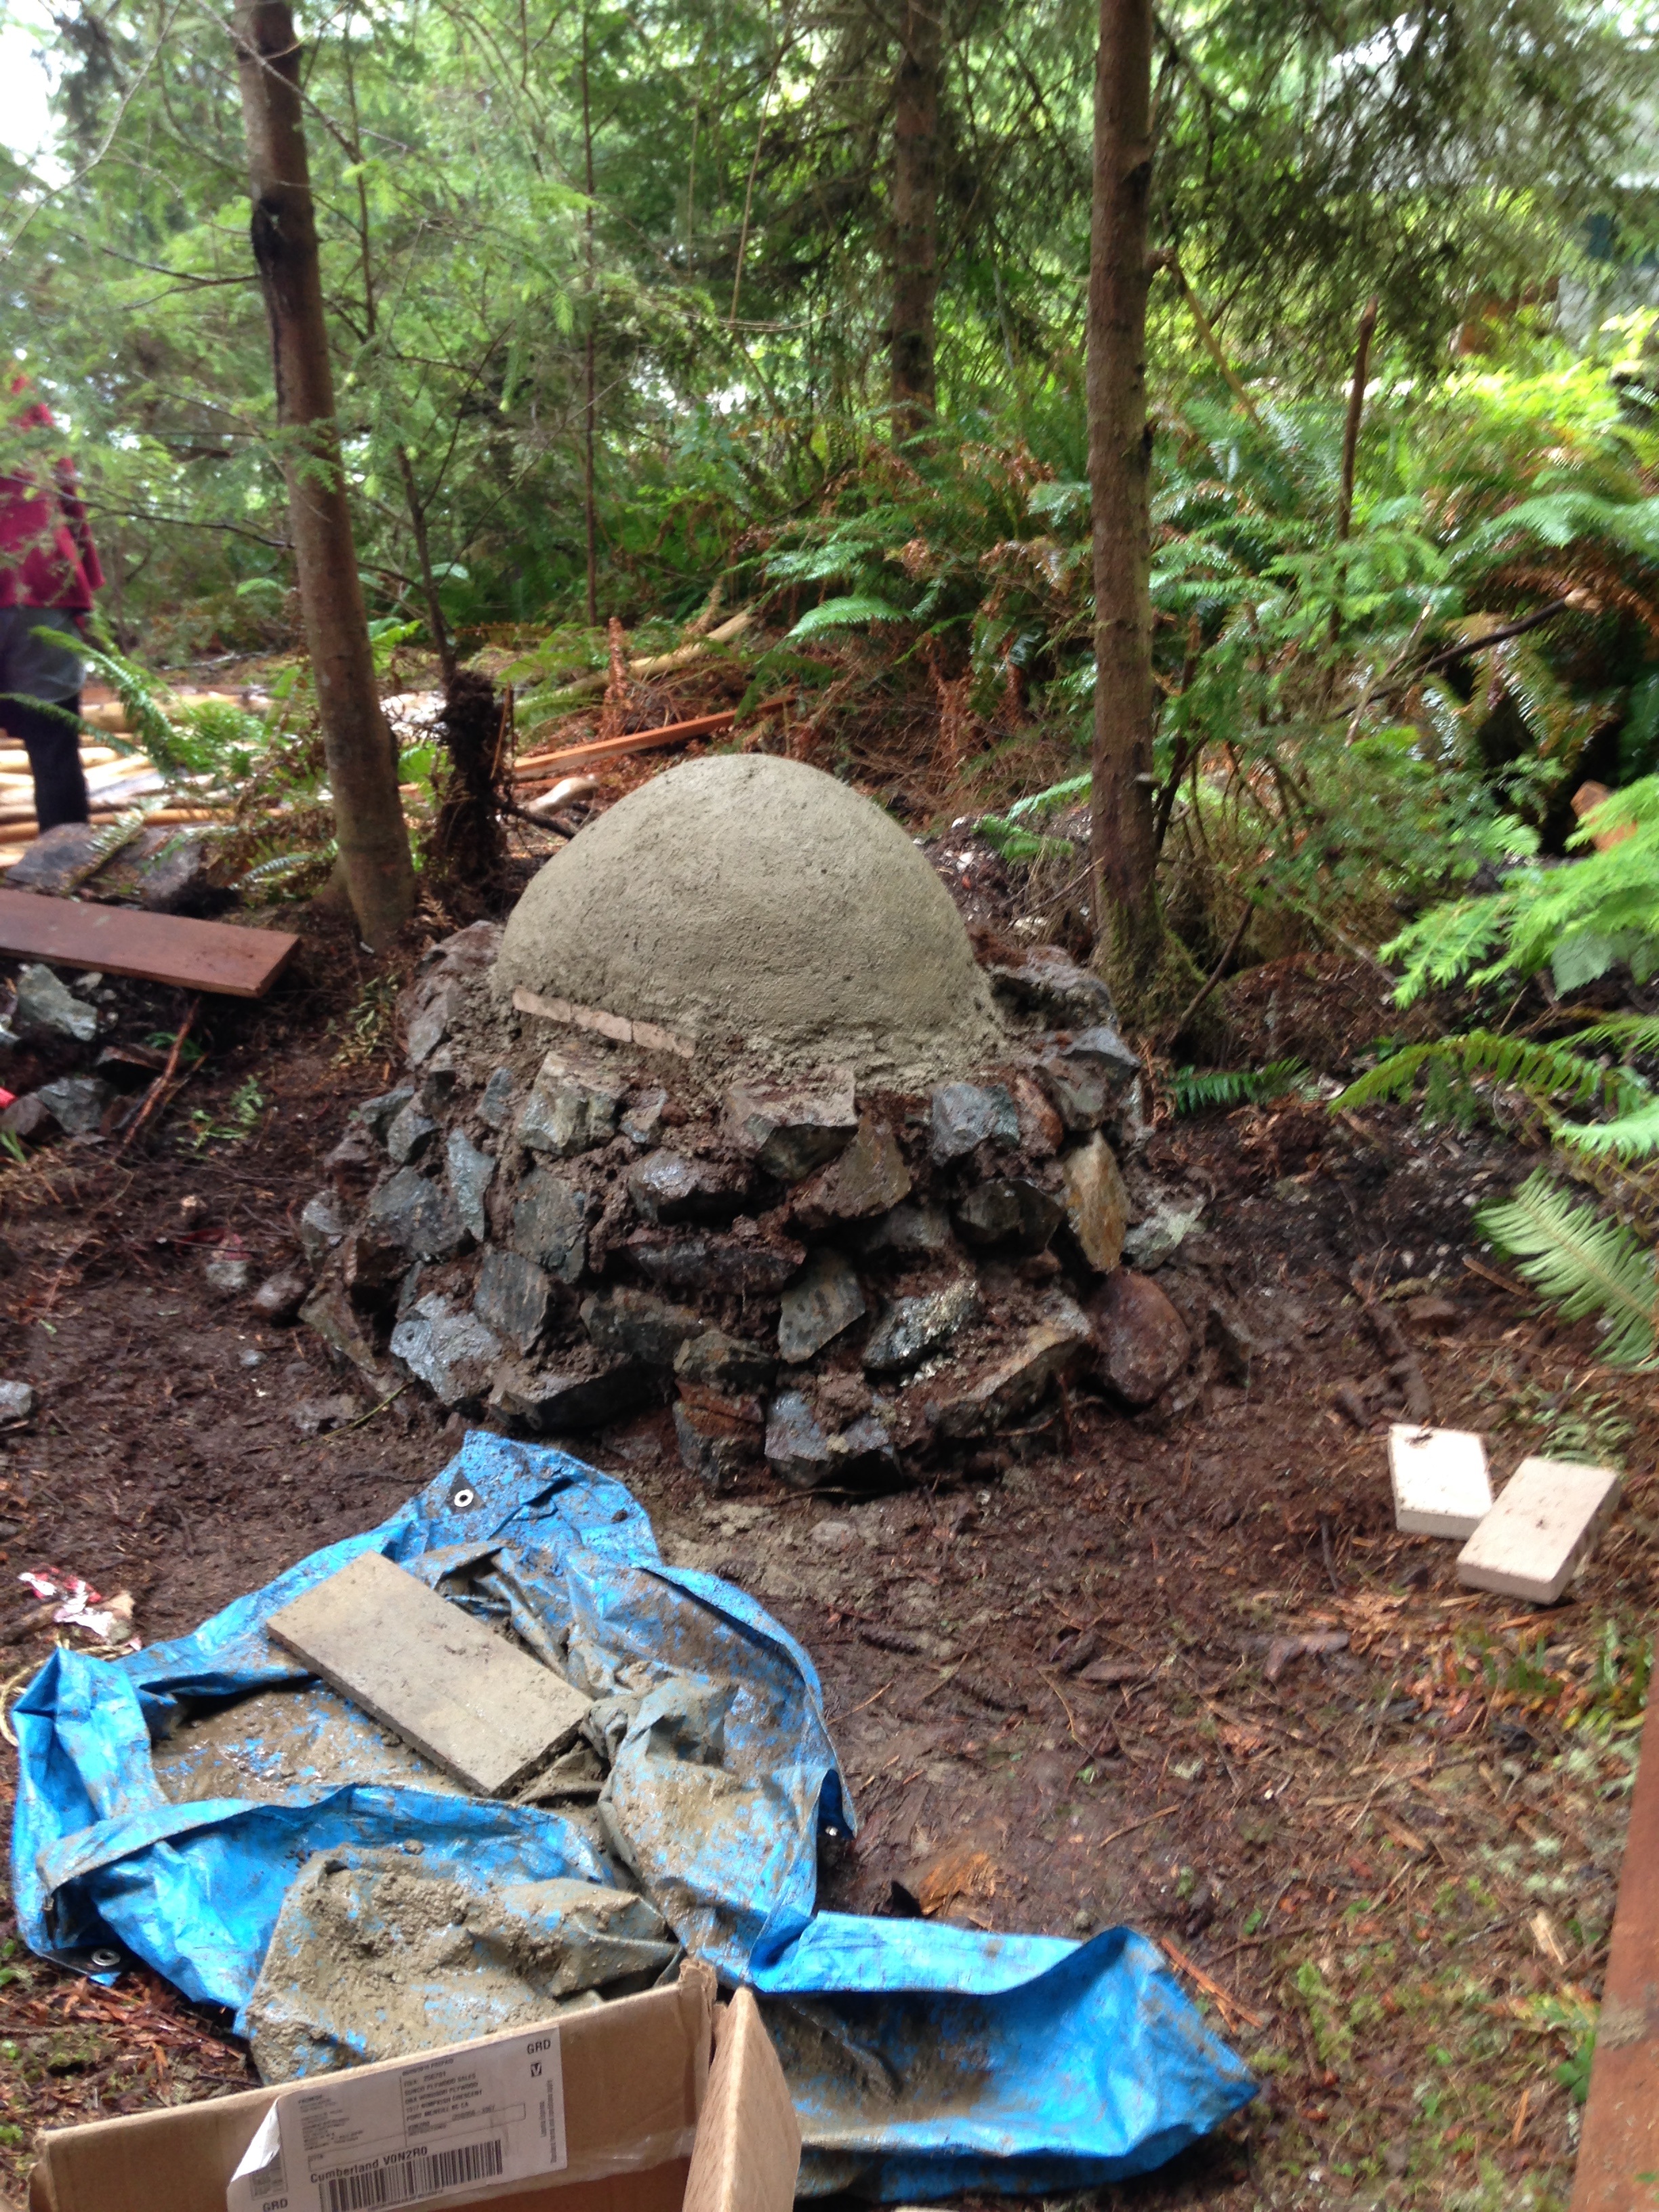
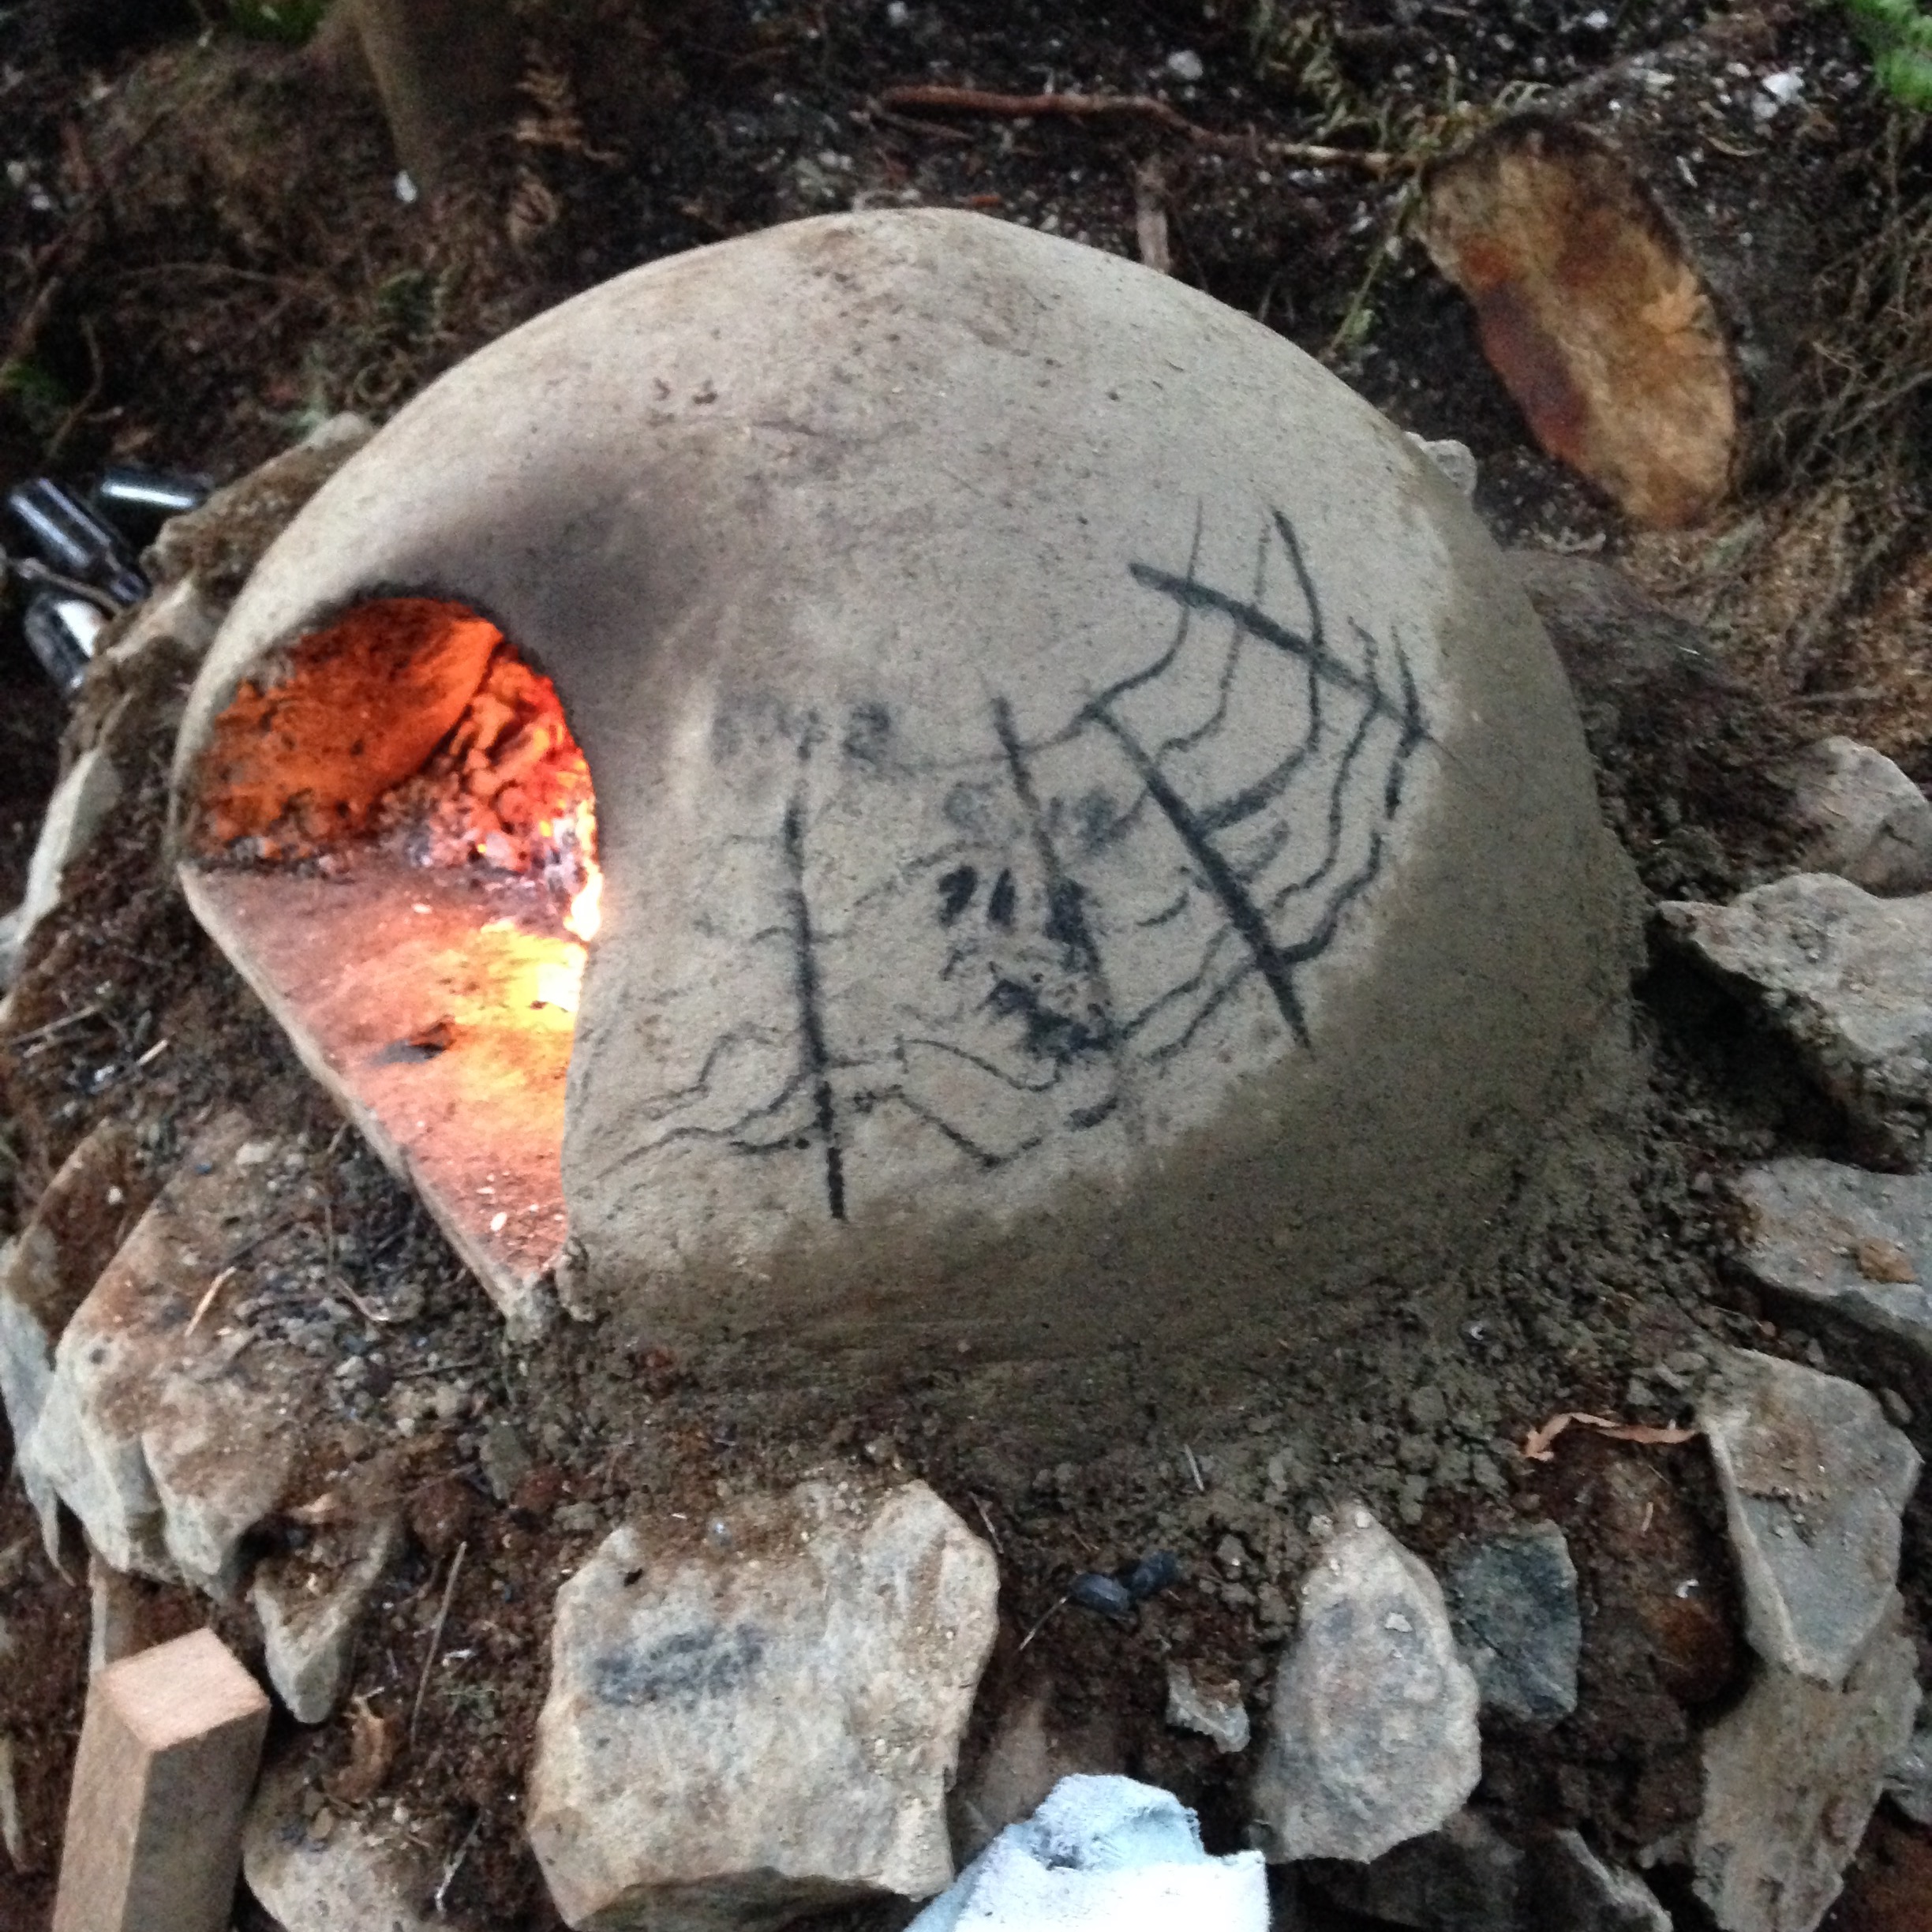
This is the most important part of the oven. The clay-sand dome that surrounds the bread is what soaks up all of the heat from the fire then radiates the heat back into the bread once the fire is removed. I formed the first layer by making a dome out of dry sand in the shape of the void of the oven. Then I covered that sand form with wet newspaper and built the oven around it. Once the clay was dry enough to hold, I cut the door and dug out the form. Then I lit a drying fire inside to cure the clay.
The sand form.
Waiting for the clay to harden enough to dig the form out.
I had to stop pretty often for rain. No problem, plenty of other work to do.
Tracking the drying rate of the oven.
Finish Layers
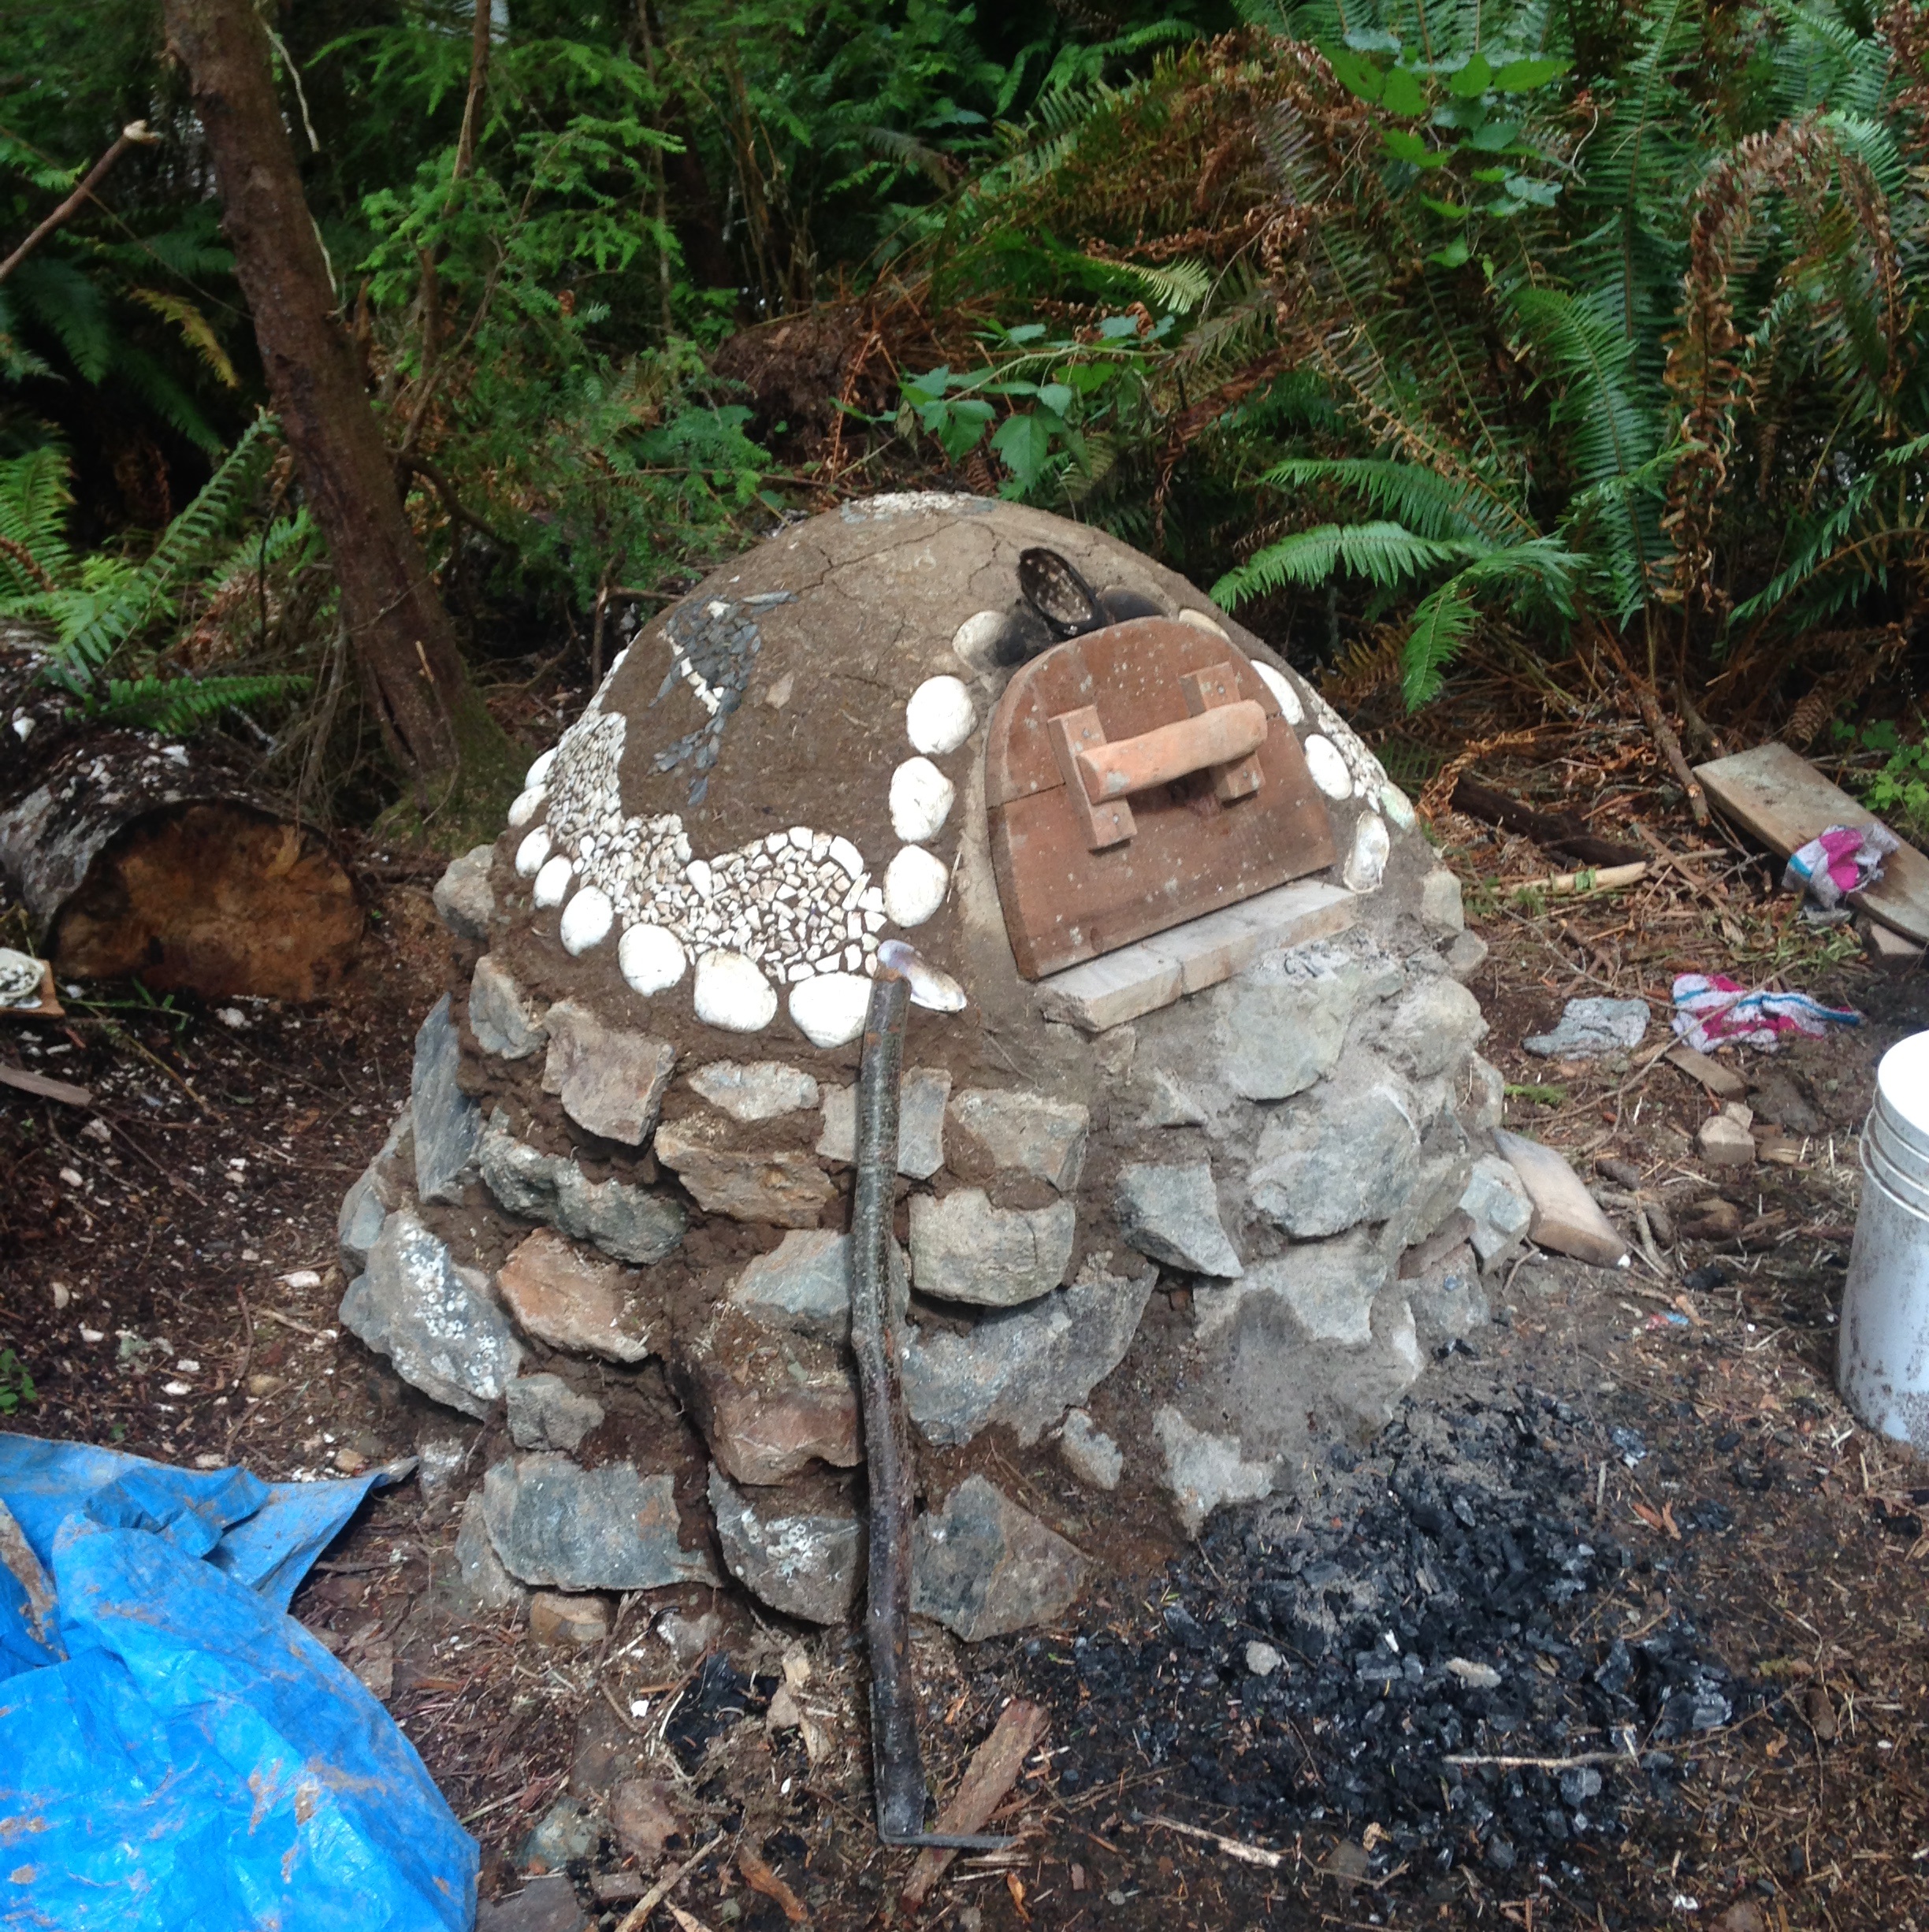
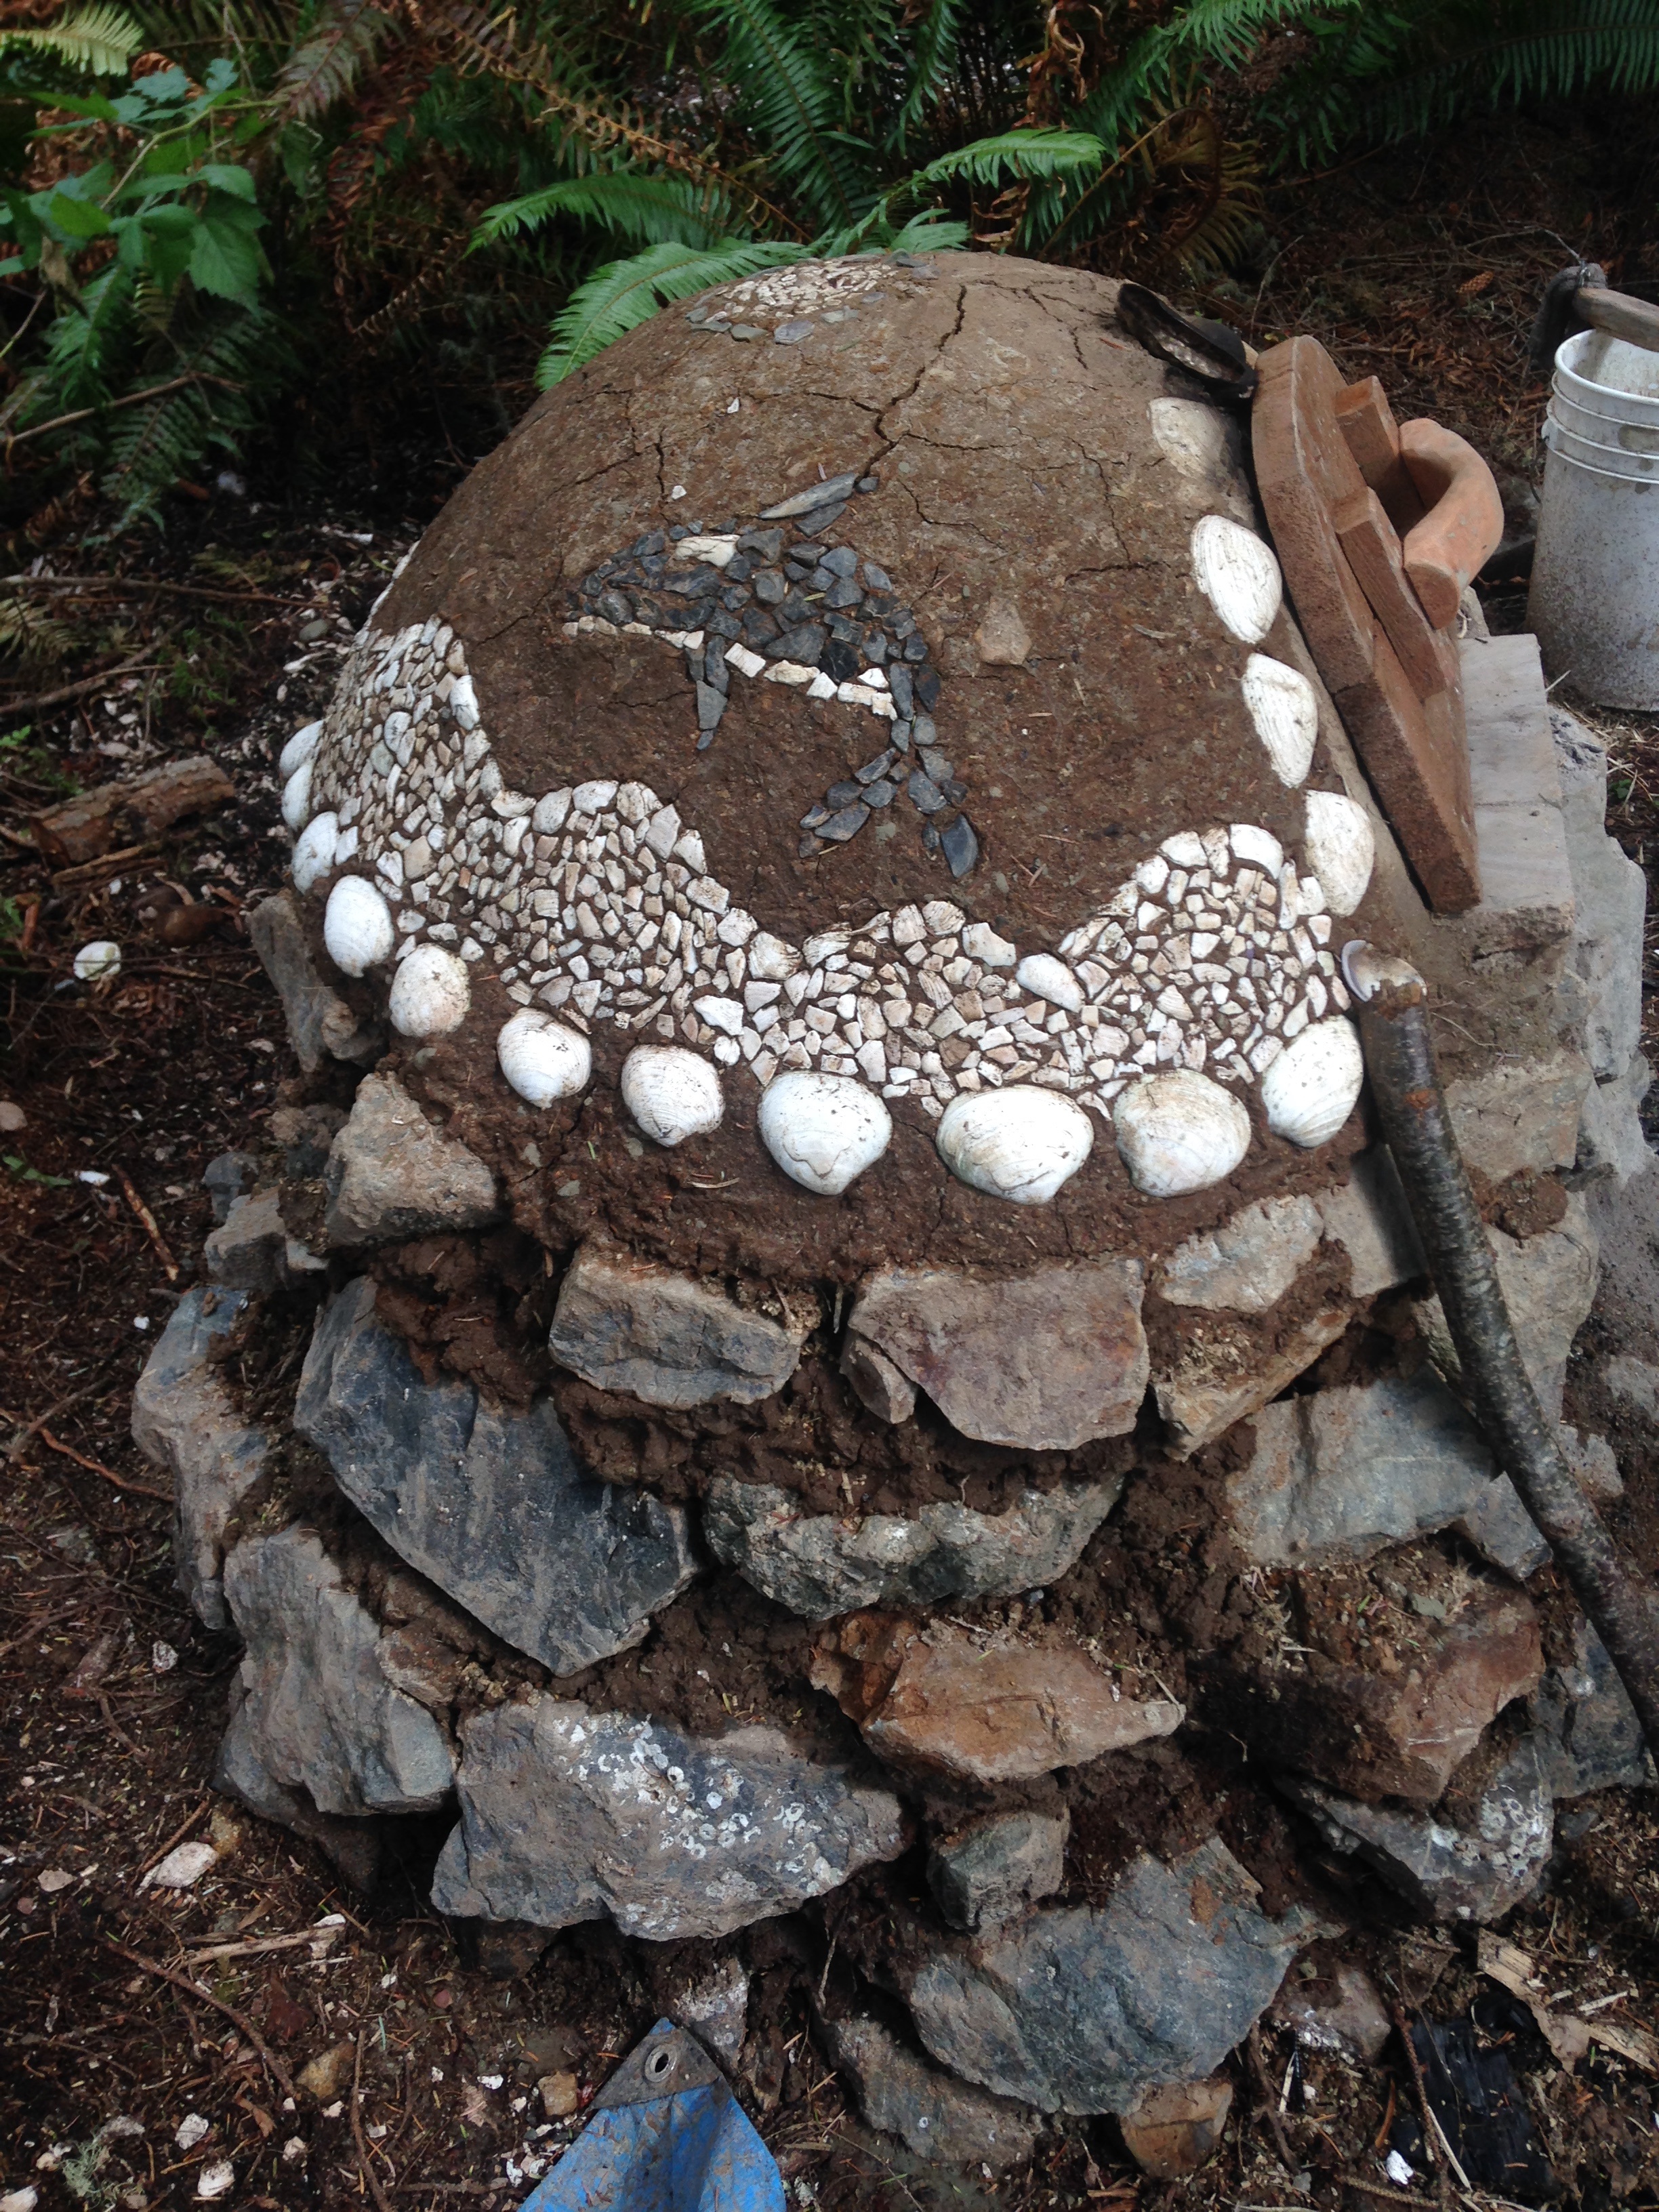
Next I covered the oven in a 4" thick layer of the clay-sawdust insulation and a finishing layer of clay plaster. Right when I finished the oven, we had a family of 15 staying at the camp and they all got together to decorate the oven with shells and an Orca mosaic!
Baking
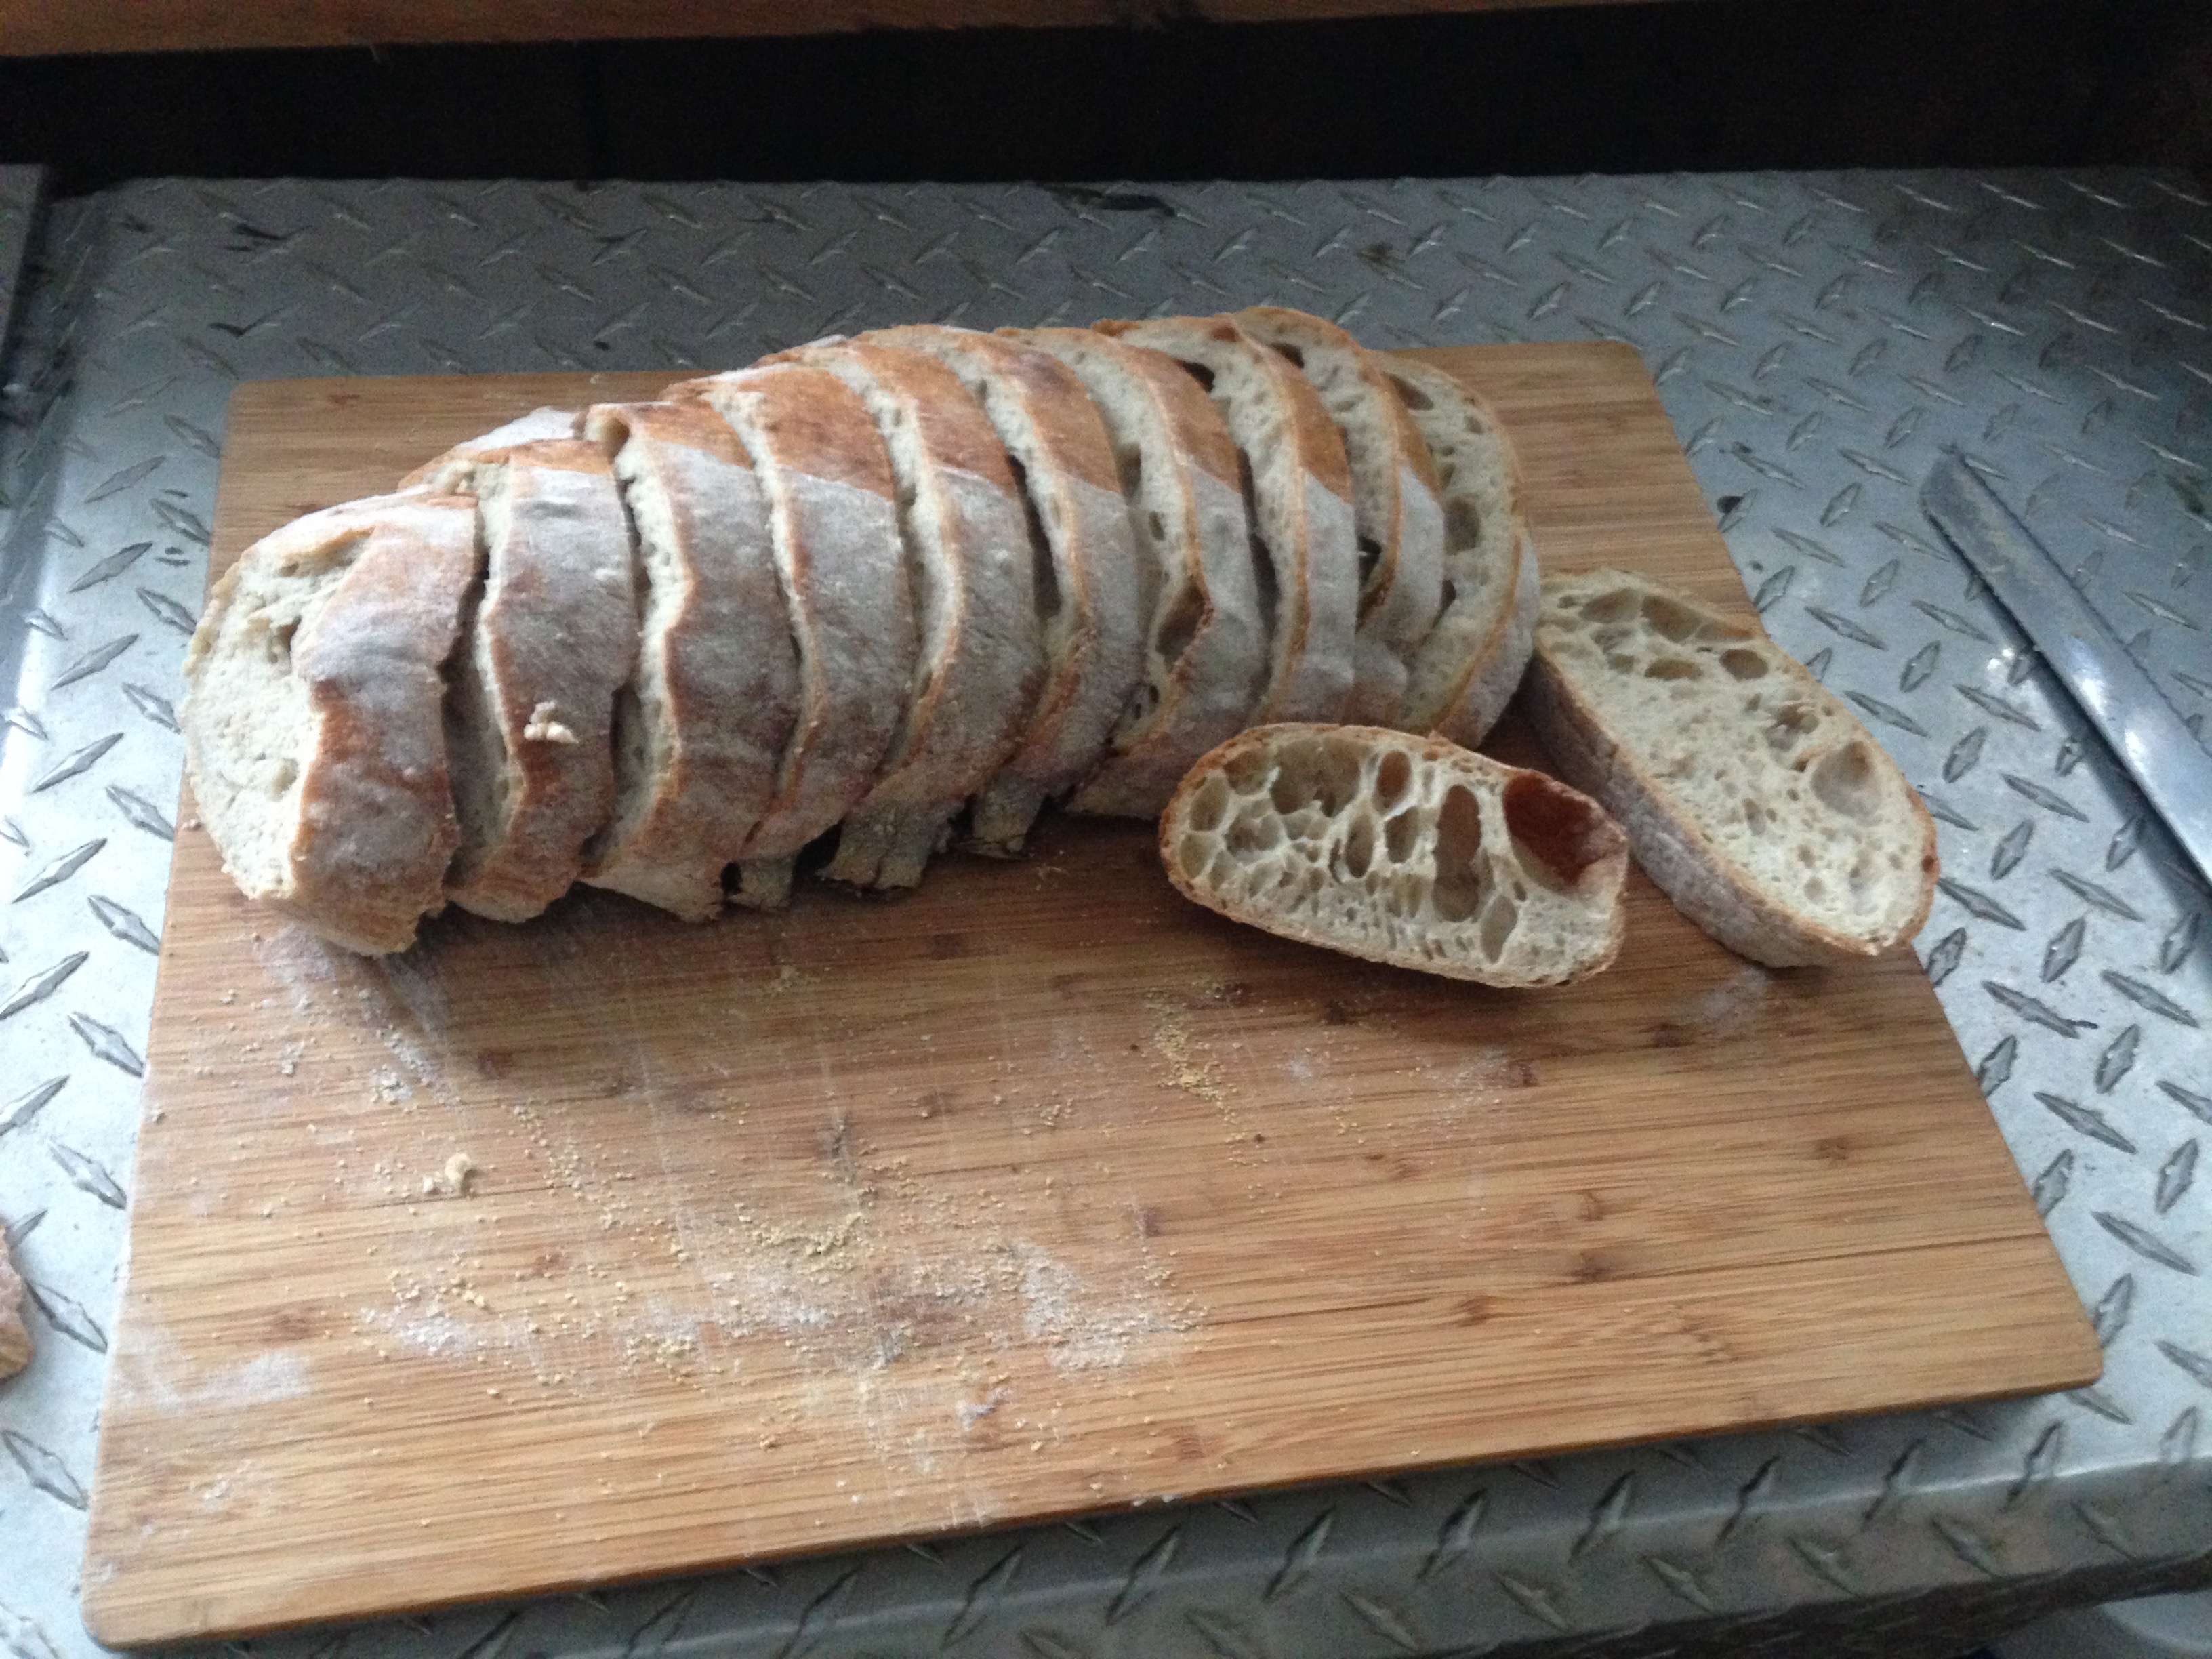
Baking in a small oven is really tricky. First you need to get a fire going. This can be difficult because all of the air going into the fire and all of the smoke coming out go through the same hole. Also, every time I got to bake in the oven it was still drying so the walls were soaking up a lot of heat. Once all of the soot inside the oven has burnt off it's hot enough to bake in. After the fire is cleaned out, it's too hot to bake bread in (but perfect for pizza!). That's the real challenge there, figuring out when to put the loaf in so that it cooks completely, but doesn't burn. This took a lot of experimentation and I wish I had more time with the finished oven before I had to move on. Eventually I made a few good loaves and some awesome pizza and flatbread.
More Photos
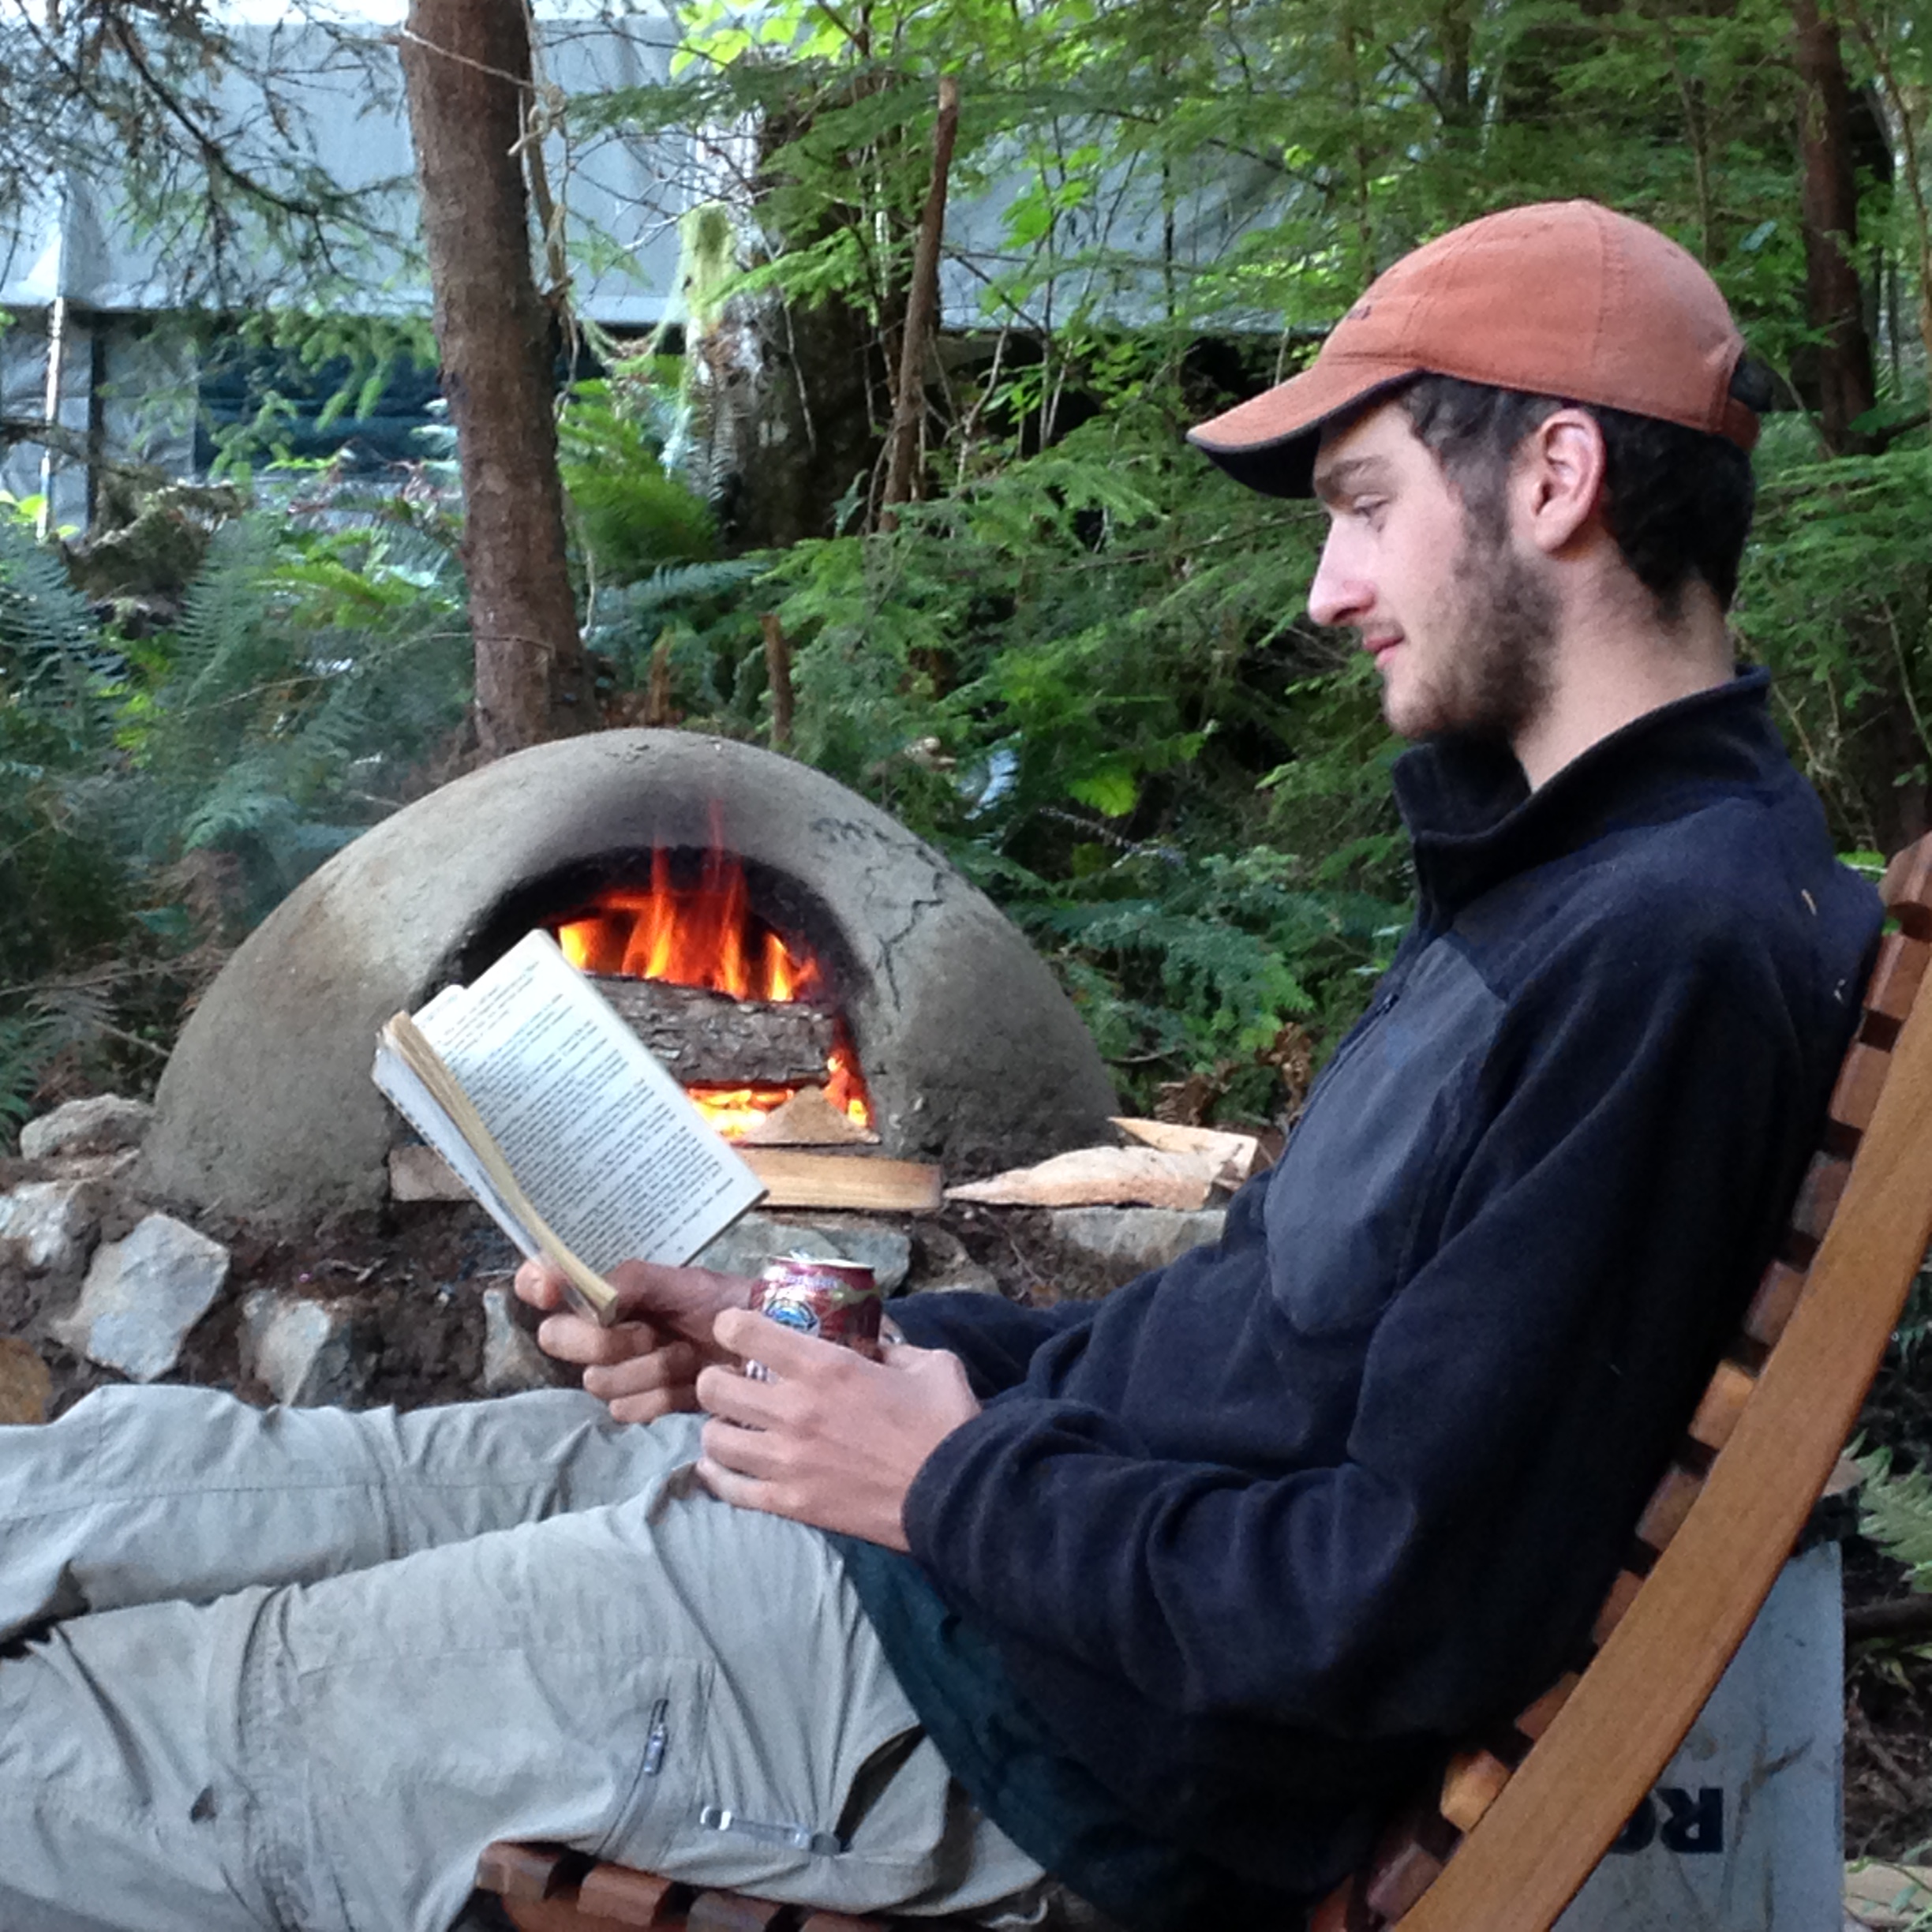
This project involved a lot of tending the fire and watching whales swim past the beach.
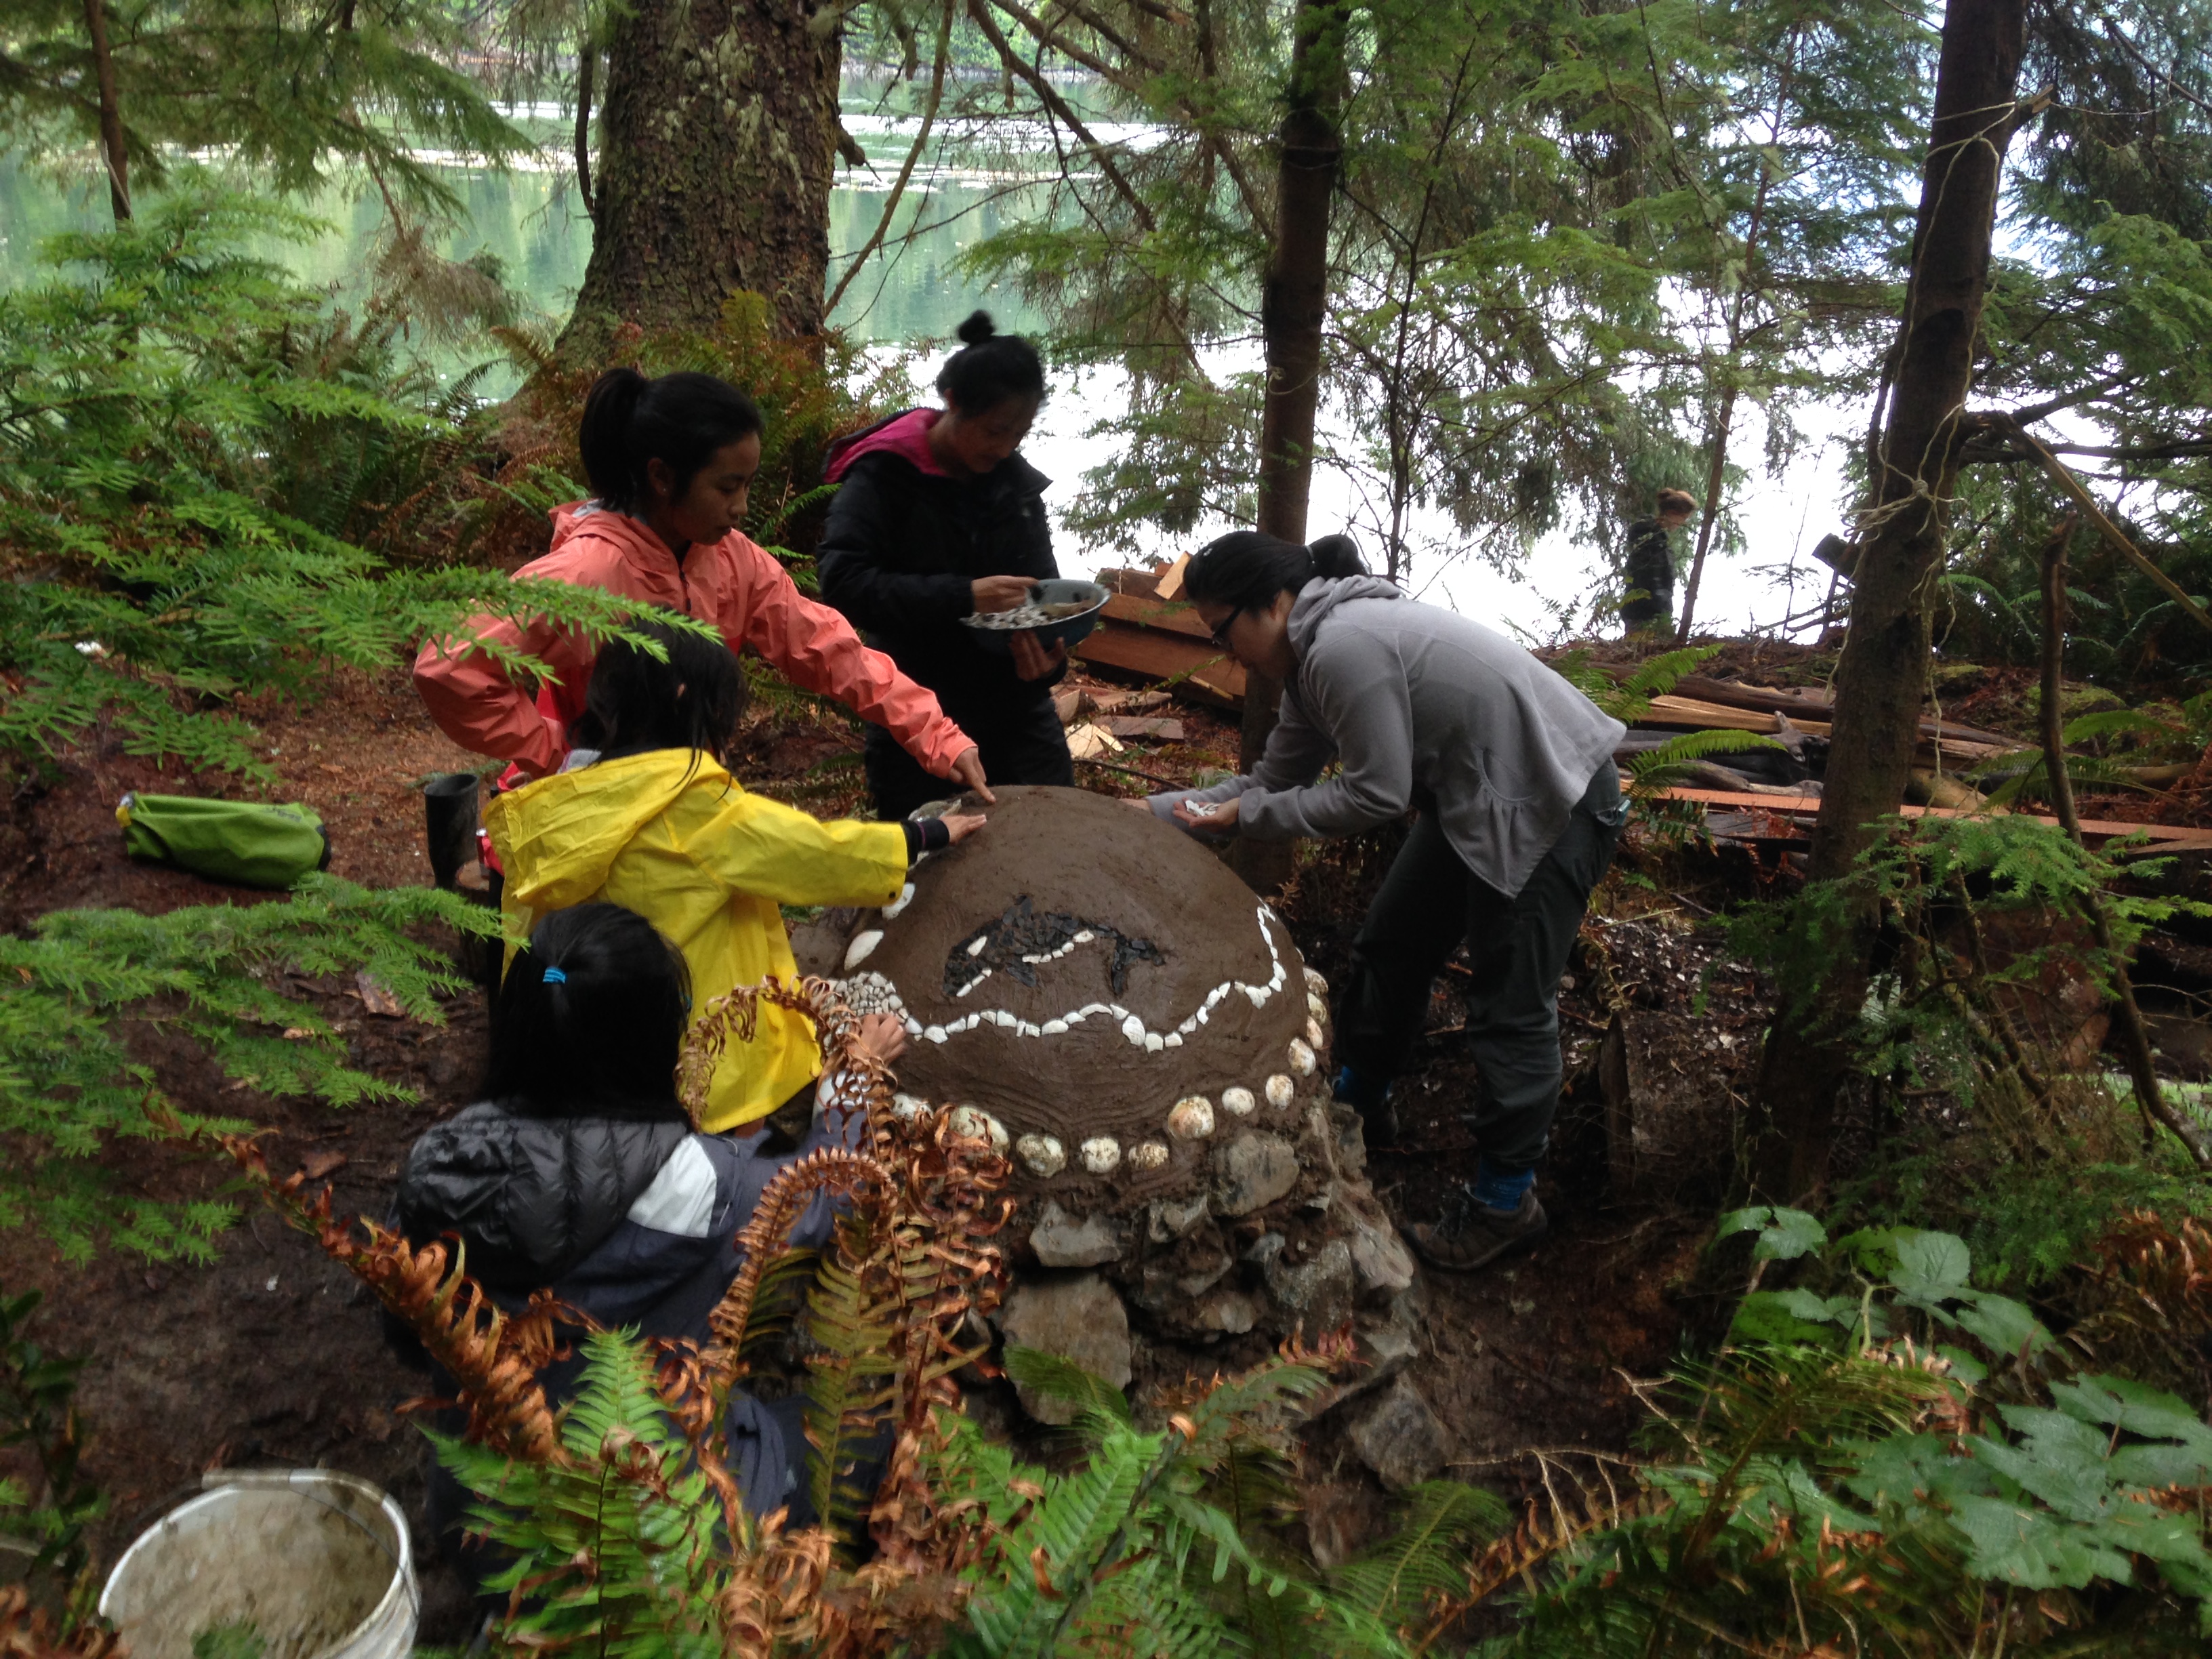
Decorating the oven.
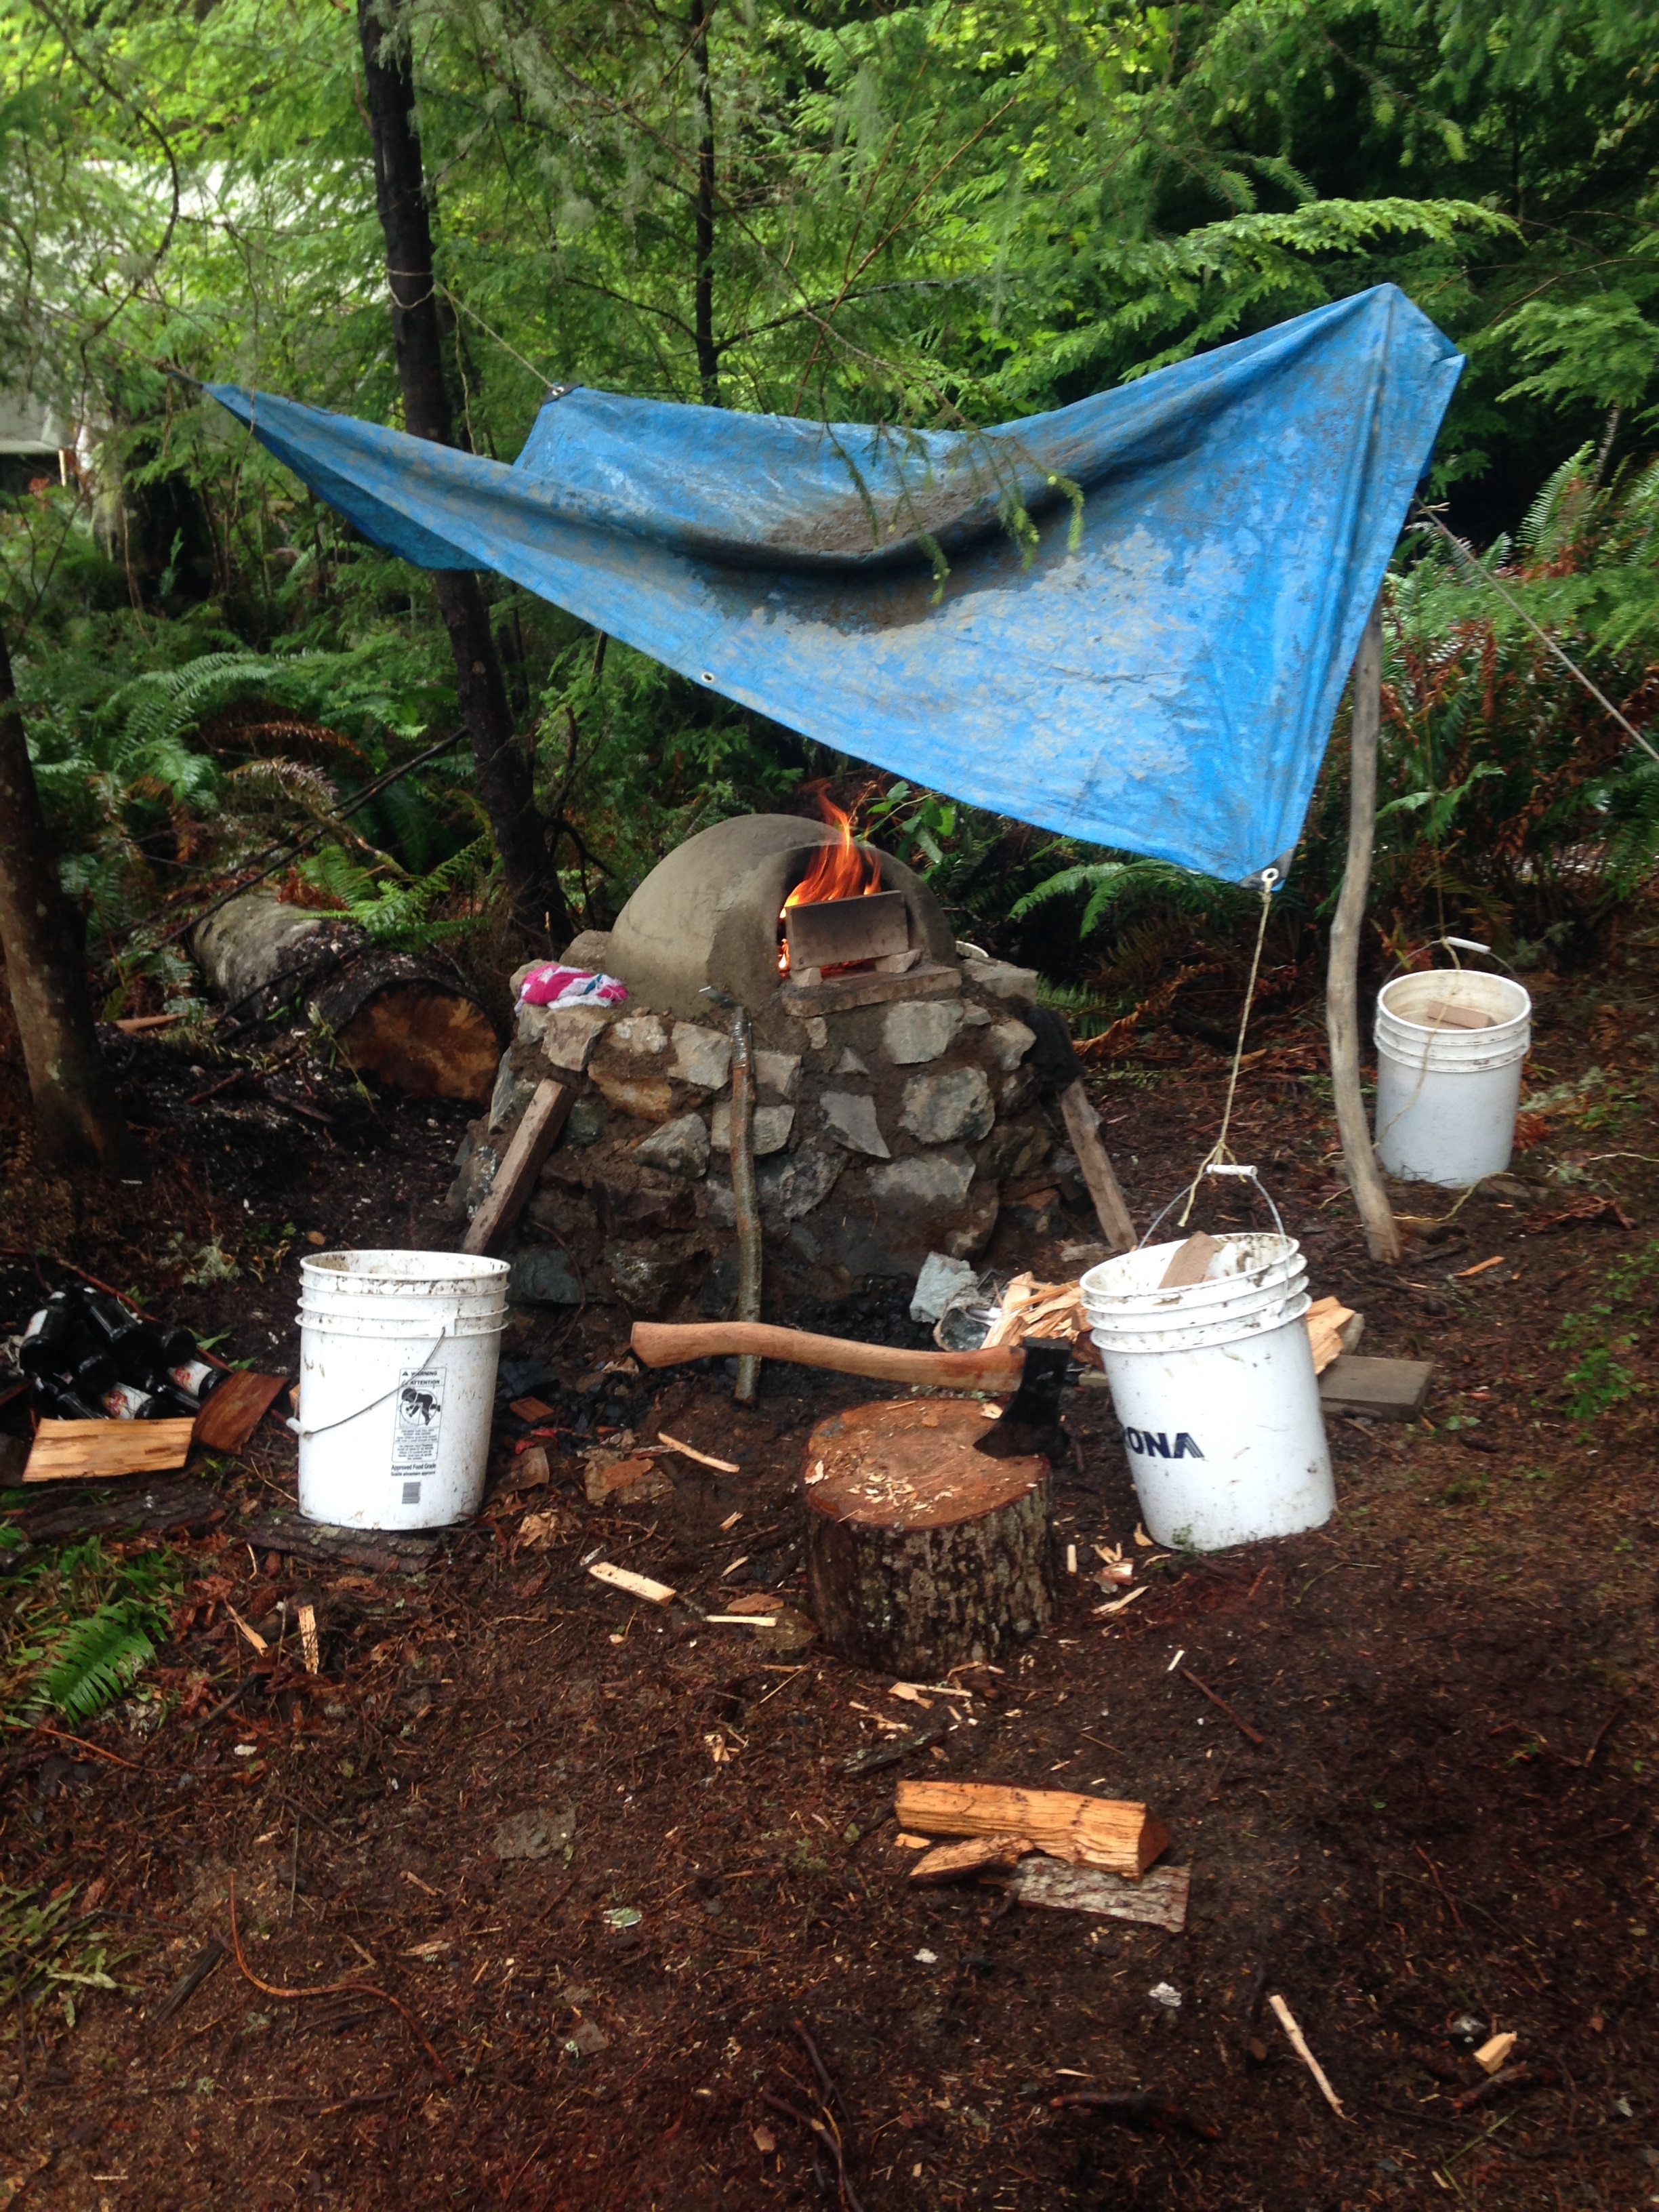
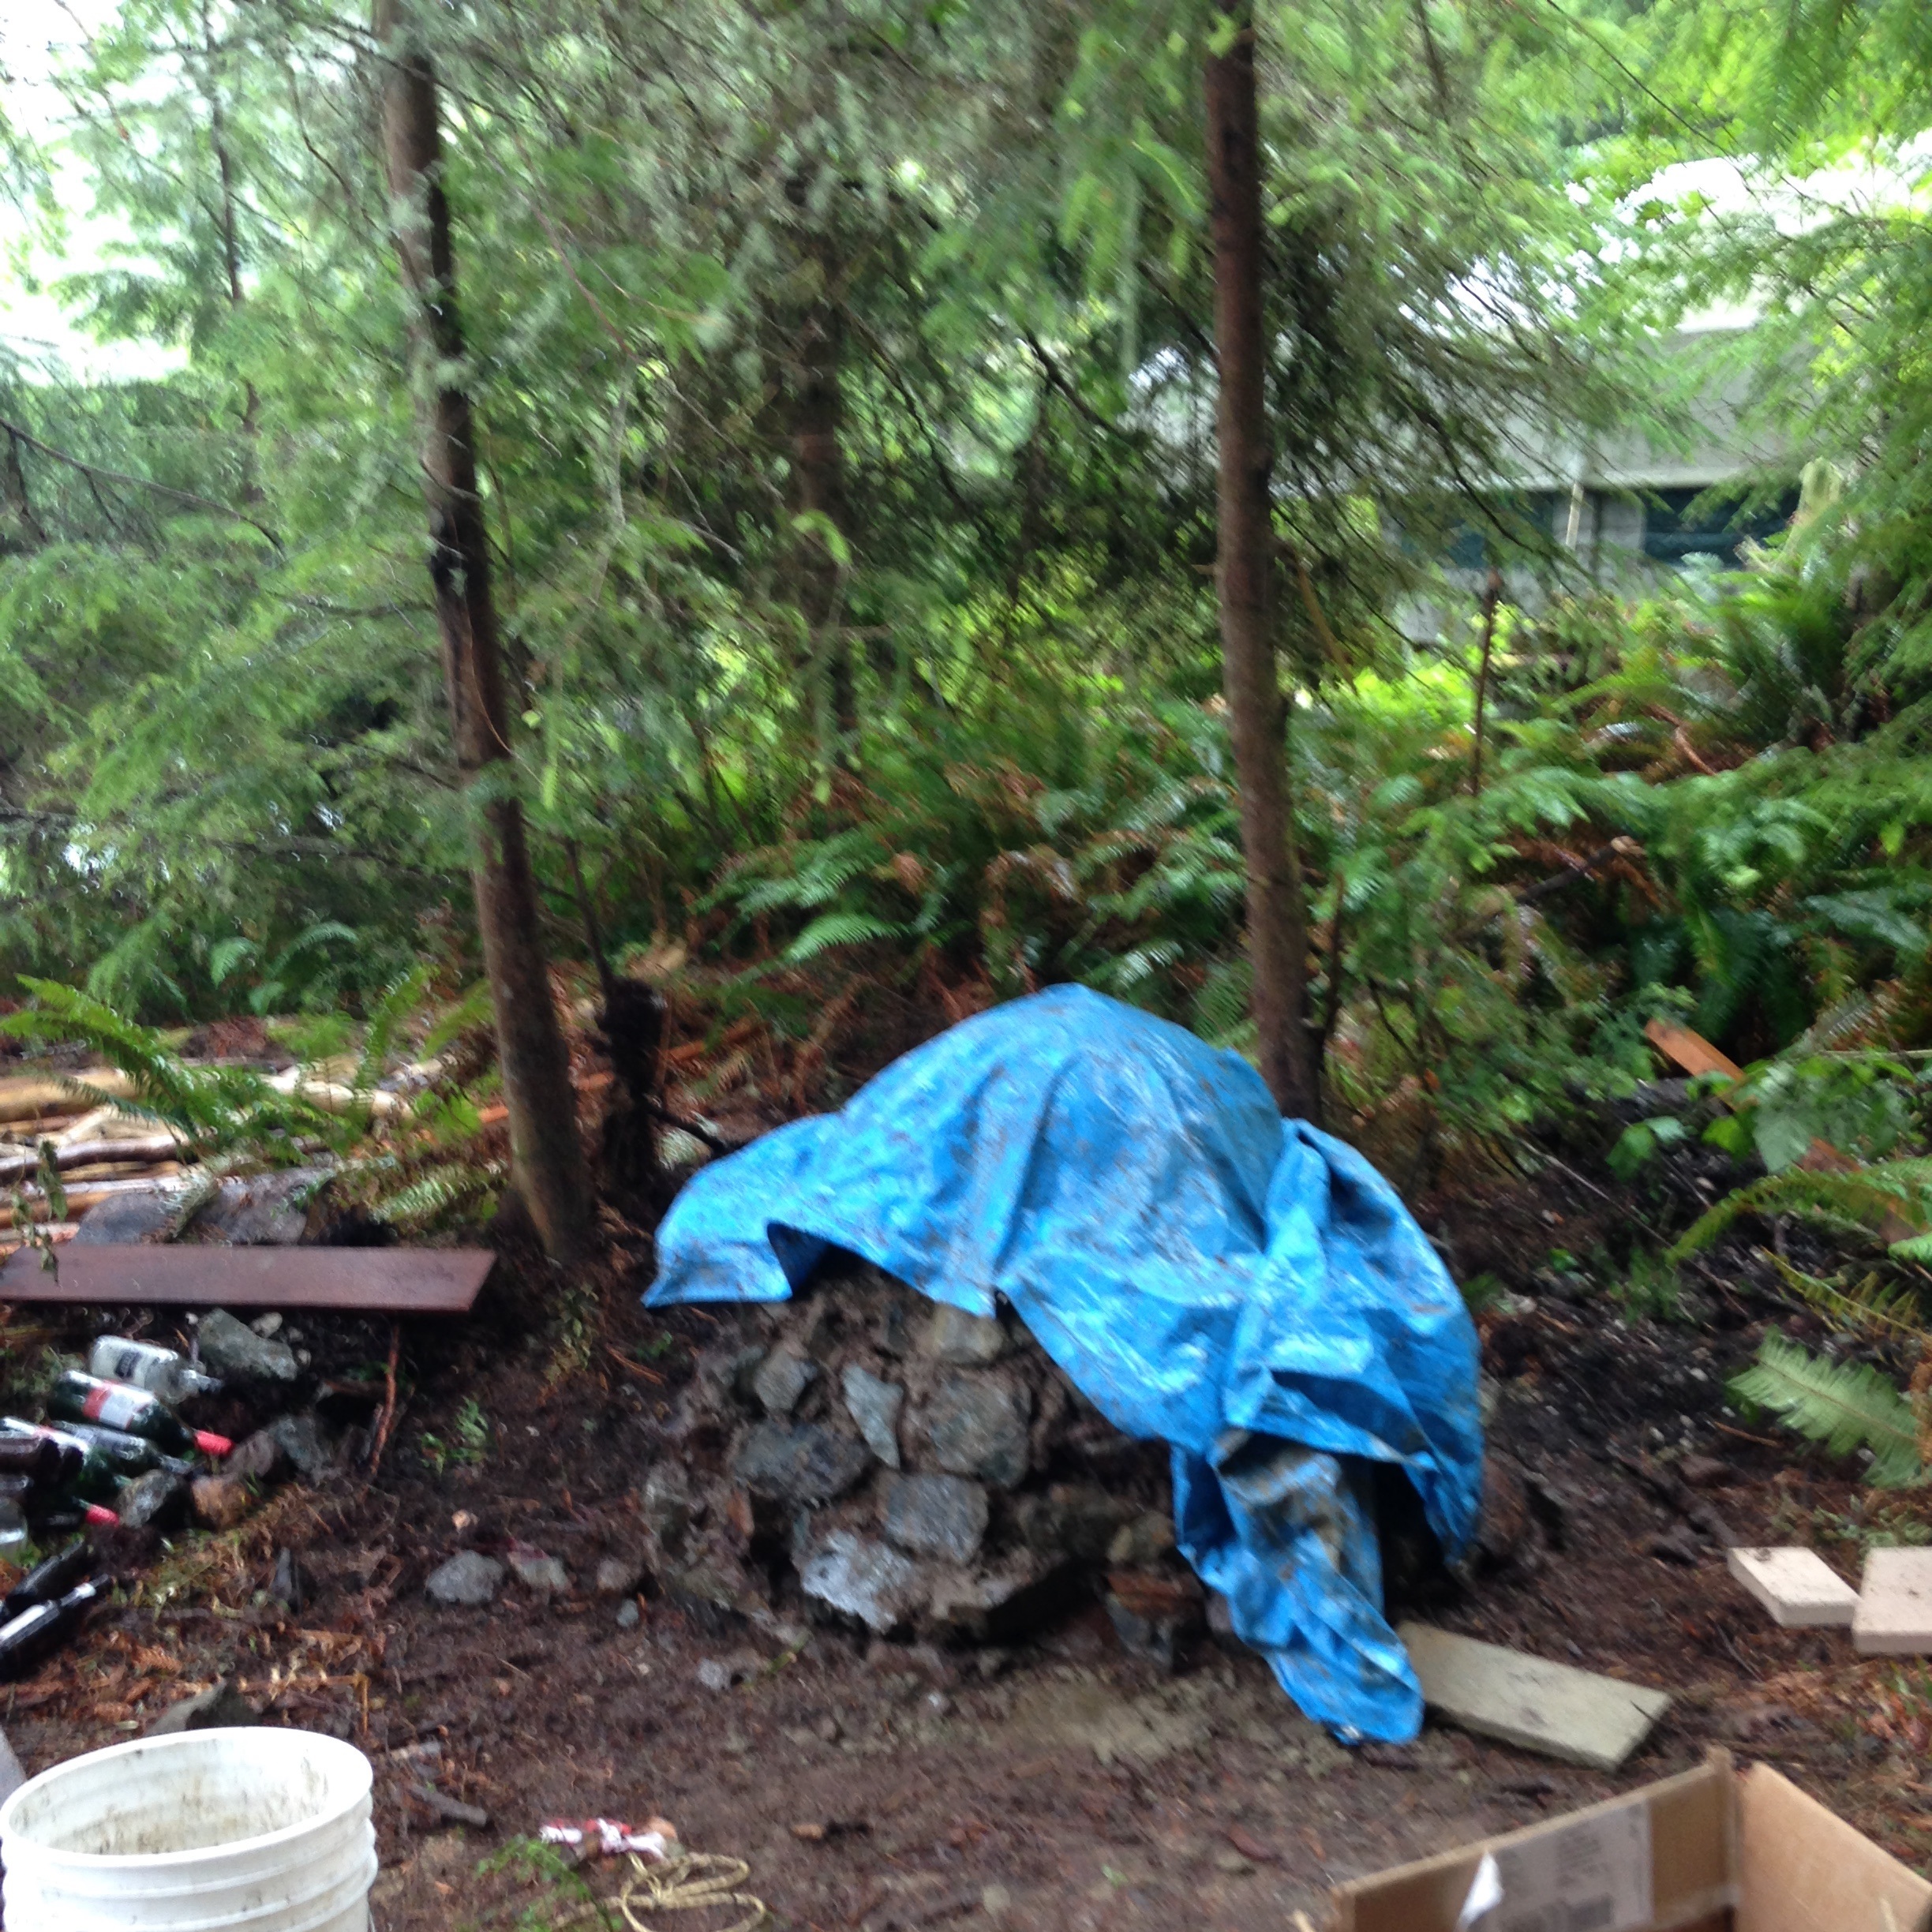
Temporary roof.

Another mosaic.